DIY Light Table

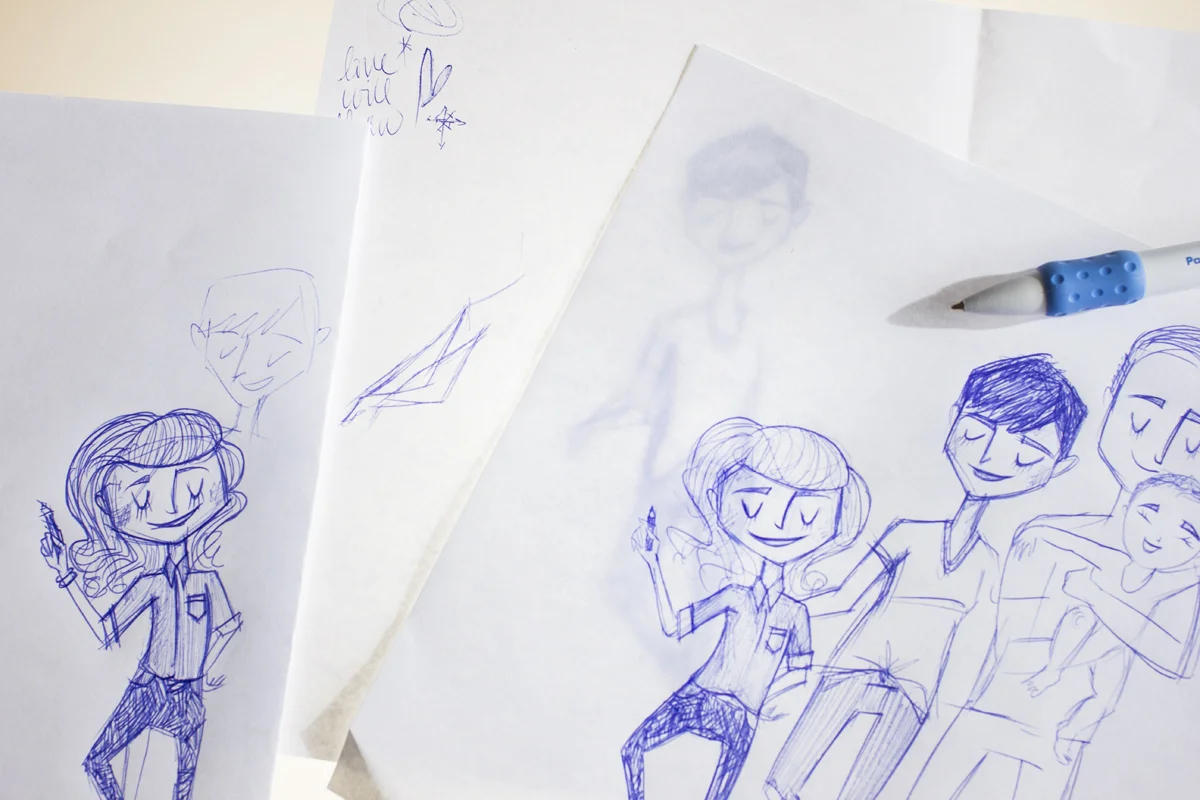
I've been juggling a variety of projects the last few weeks, including a commissioned illustration for my friend Saara.  They will be moving into a new home a few months from now and she wanted to have a family portrait to frame and hang in their entry way.  Long before photography and long before children, I had thought to dabble in illustration and had a collection of prints that I would sell at Craft Shows, a few which she had purchased and inspired her idea to have a family portrait done in the same style.  My illustration process includes piles of sketches that I often have to trace and retrace and retrace, so a light table is really a godsend.  Kevin made me a light table a hundred million years ago which neither of us have any idea on its whereabouts, so he put a quick one together for me the other day.  

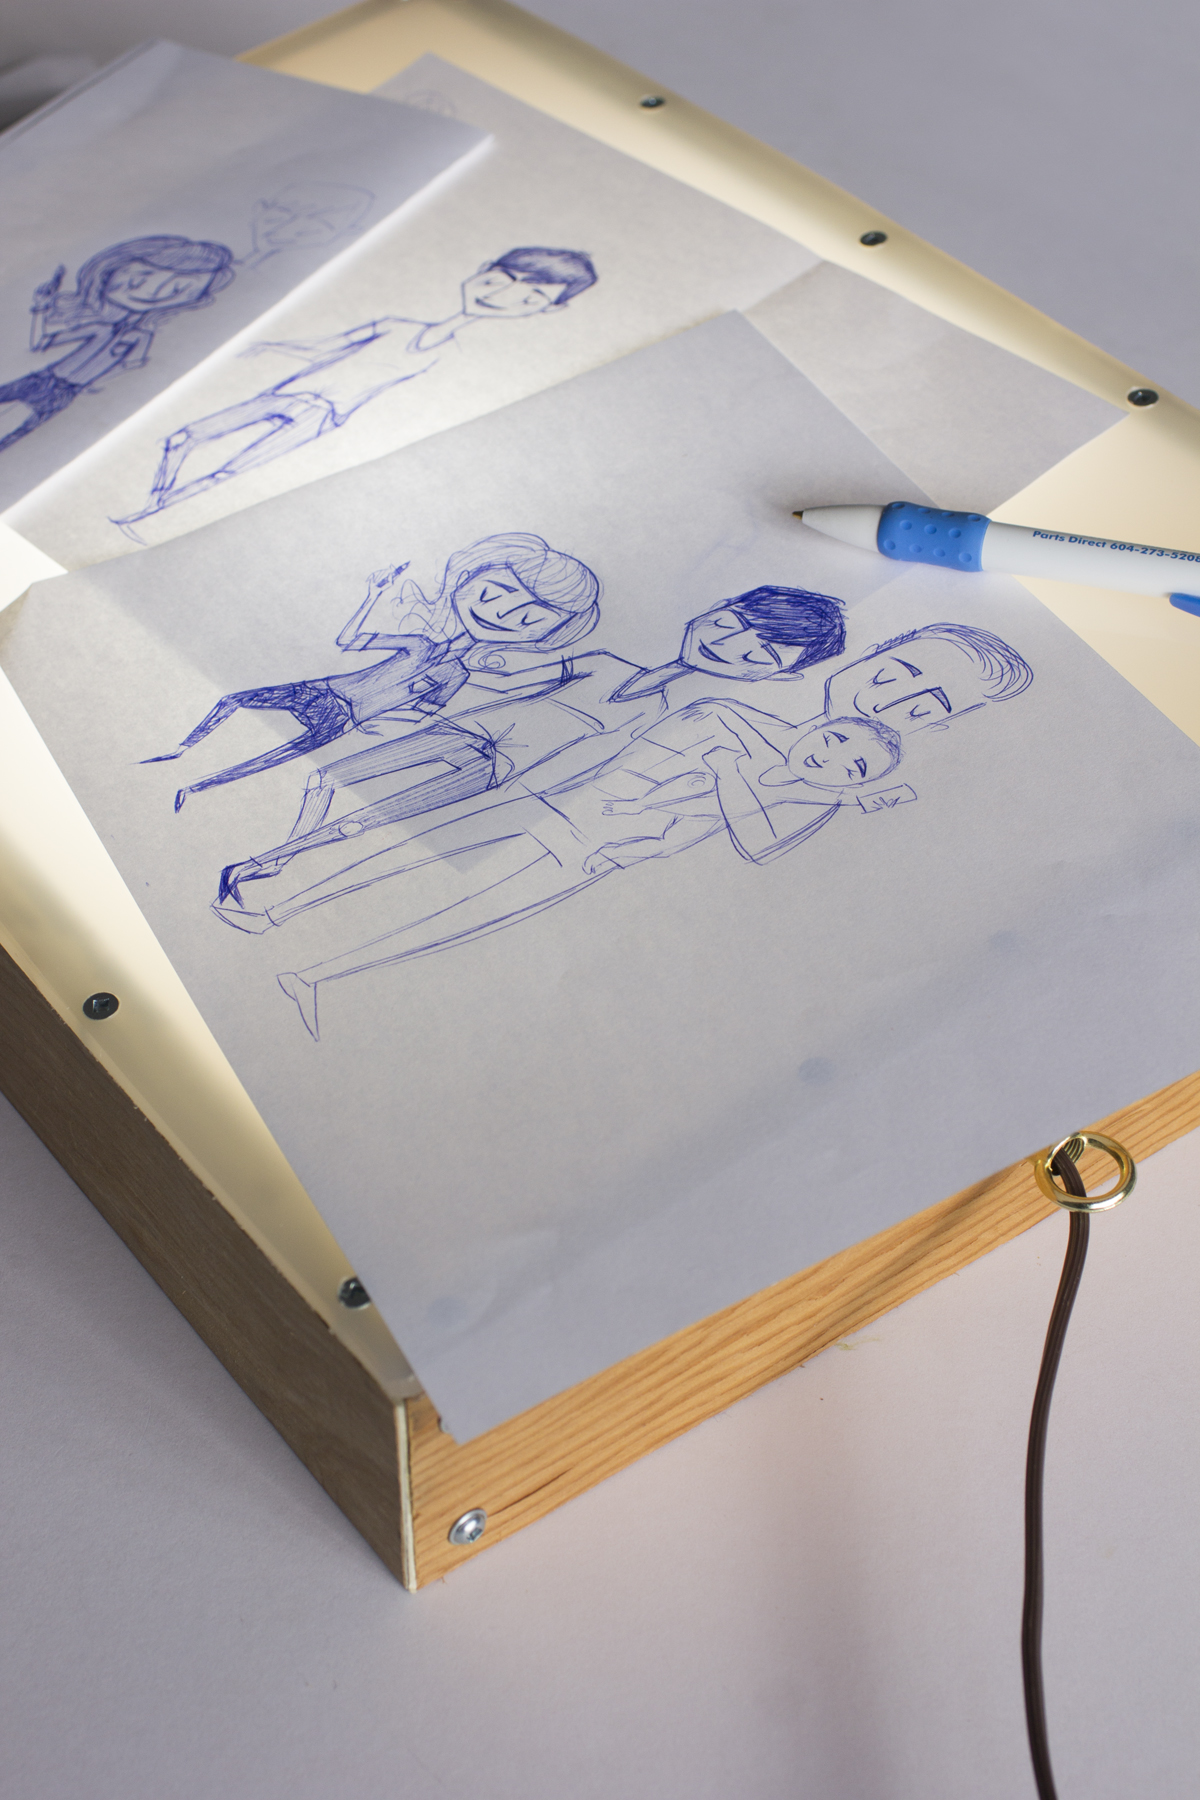
Clean, lightweight, and portable with a long long cord and a fantastically sleek LED bulb in place of a regular incandescent bulb which would always heat, melt and warp the plastic over time.  Out of pocket, it cost $7 (Home Depot) for the bulb with everything else being scraps we had laying around the mudroom.  If I wanted to, I would "request" to have these painted in bubblegum pink… or black… or white.  And that gold ring (fixture loop) that the cord runs through I would change that to a flat black or something and obvs that brown cord would have to go… but this was for HURRY UP I NEED TO GET THIS JOB DONE! so i'm all smiles.

Here is a Before and After or rather a With and Without the light table.  I mean, really, I could make out the image enough to trace it but this speeds up the process so much more.  I actually have used my iMac screen as a light table a handful of times, but it's absolutely awkward and uncomfortable.

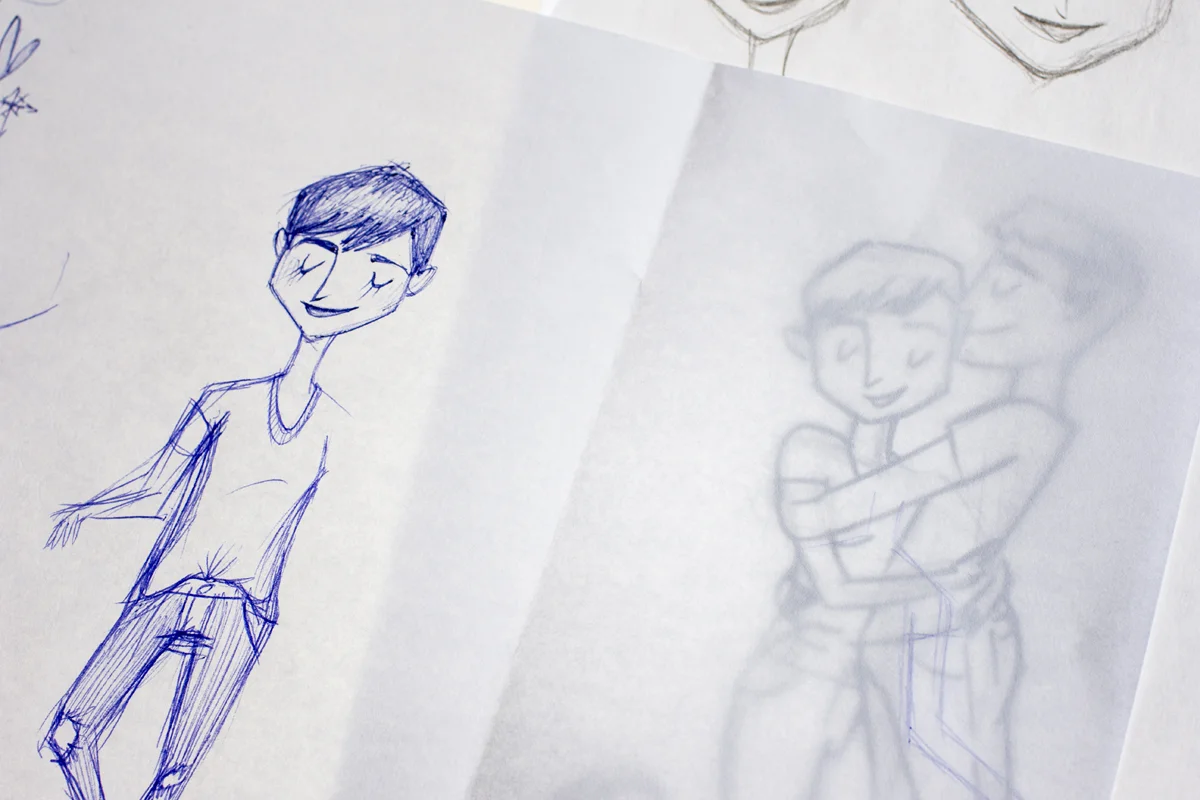
And another example...

Hoping to have this illustration complete by mid-week… fingers crossed!


DIY Ghostbusters Proton Pack

Happy Weekend!  Thought I would share a bit of creativity outside of photography to spice things up here.  When we first moved to Tsawwassen (my husband's hometown) after Moses was born, our next door neighbours were pregnant with their first child, Ty.  

Today is his 4th Birthday!  The boys have grown up together and though they have moved out of our condo and across the street, we still be tight.  Ty is currently gaga over Ghostbusters so yesterday at 7:30pm, I brought out a cardboard box and started Googling PROTON PACK.  As I had hoped, Kevin saw my poor artistic attempt to execute a DIY version of the Ghostbusters ghost-buster and stepped in.  Being the creative, hoarding mechanic that he is, this project could not have been more up his alley.  4 hours later, everything but the straps was complete.

DIY title.jpg
The Original

The Original

Using cardboard, tins, wires and bits and pieces of random electrical gadgets, the only money we had to shell out was $4 worth of the straps and velcro.  This large gold looking piece is one of our old kitchen lights that had blown out, the ver…

Using cardboard, tins, wires and bits and pieces of random electrical gadgets, the only money we had to shell out was $4 worth of the straps and velcro.  This large gold looking piece is one of our old kitchen lights that had blown out, the very same stupid lights that our neighbours also had to suffer through when living next to us.  Kevin added the spring over the cable for some excellent texture.  I punched out a button for the Ghostbusters logo that fit PERFECTLY in the metal piece from our old garburetor.  The white "fuses" are leftover pieces from the kids' IKEA bunkbed.

The more tactile and versatile, the better!  Kevin used a tin that had been long part of the kids' kitchen playthings to create storage space for small toys or treats.  Yes, that is a real Canadian Standard Association approval sticker! HA!

The more tactile and versatile, the better!  Kevin used a tin that had been long part of the kids' kitchen playthings to create storage space for small toys or treats.  Yes, that is a real Canadian Standard Association approval sticker! HA!

IMG_8550 2.jpg
Two smaller tins from laser pointers for additional storage (complete with CAUTION stickers!).  The cylindrical shape is indeed a toilet paper roll.  The back side was not yet complete as I wanted to take photos prior to attaching the back…

Two smaller tins from laser pointers for additional storage (complete with CAUTION stickers!).  The cylindrical shape is indeed a toilet paper roll.  The back side was not yet complete as I wanted to take photos prior to attaching the back straps, hence the open flap of cardboard.

The kitchen light was cool because of its moveable dial.  The box above the light fixture is the bottom of an Altoids tin.  The transformer (electrical piece) and the vent along the right side were both from the busted kitchen light.

The kitchen light was cool because of its moveable dial.  The box above the light fixture is the bottom of an Altoids tin.  The transformer (electrical piece) and the vent along the right side were both from the busted kitchen light.

And last but not least: the hose is from our bunk vacuum cleaner.  Attached to it is 3 parts: switch from IKEA light glued onto a plastic Play-Doh tube, and lastly, yet another piece from the kitchen light.  Who knew that light would go su…

And last but not least: the hose is from our bunk vacuum cleaner.  Attached to it is 3 parts: switch from IKEA light glued onto a plastic Play-Doh tube, and lastly, yet another piece from the kitchen light.  Who knew that light would go such a long way after all the trouble it caused!

I had to check out three places after Chloe's dance class to find nylon webbing and velcro for the straps.  Got home at 11:20am and the party started at Noon!  Just enough time to spare for photos and attaching the straps!

Pretty freaking cool.  I was a little worried at first, whether or not Ty would be into it, but when his Mama showed me the flattened cardboard box that was half flapping against a Teenage Mutant Ninja Turtle shell, I was reassured this would be well received!

HAPPY BIRTHDAY TY!