Paint Night No.1

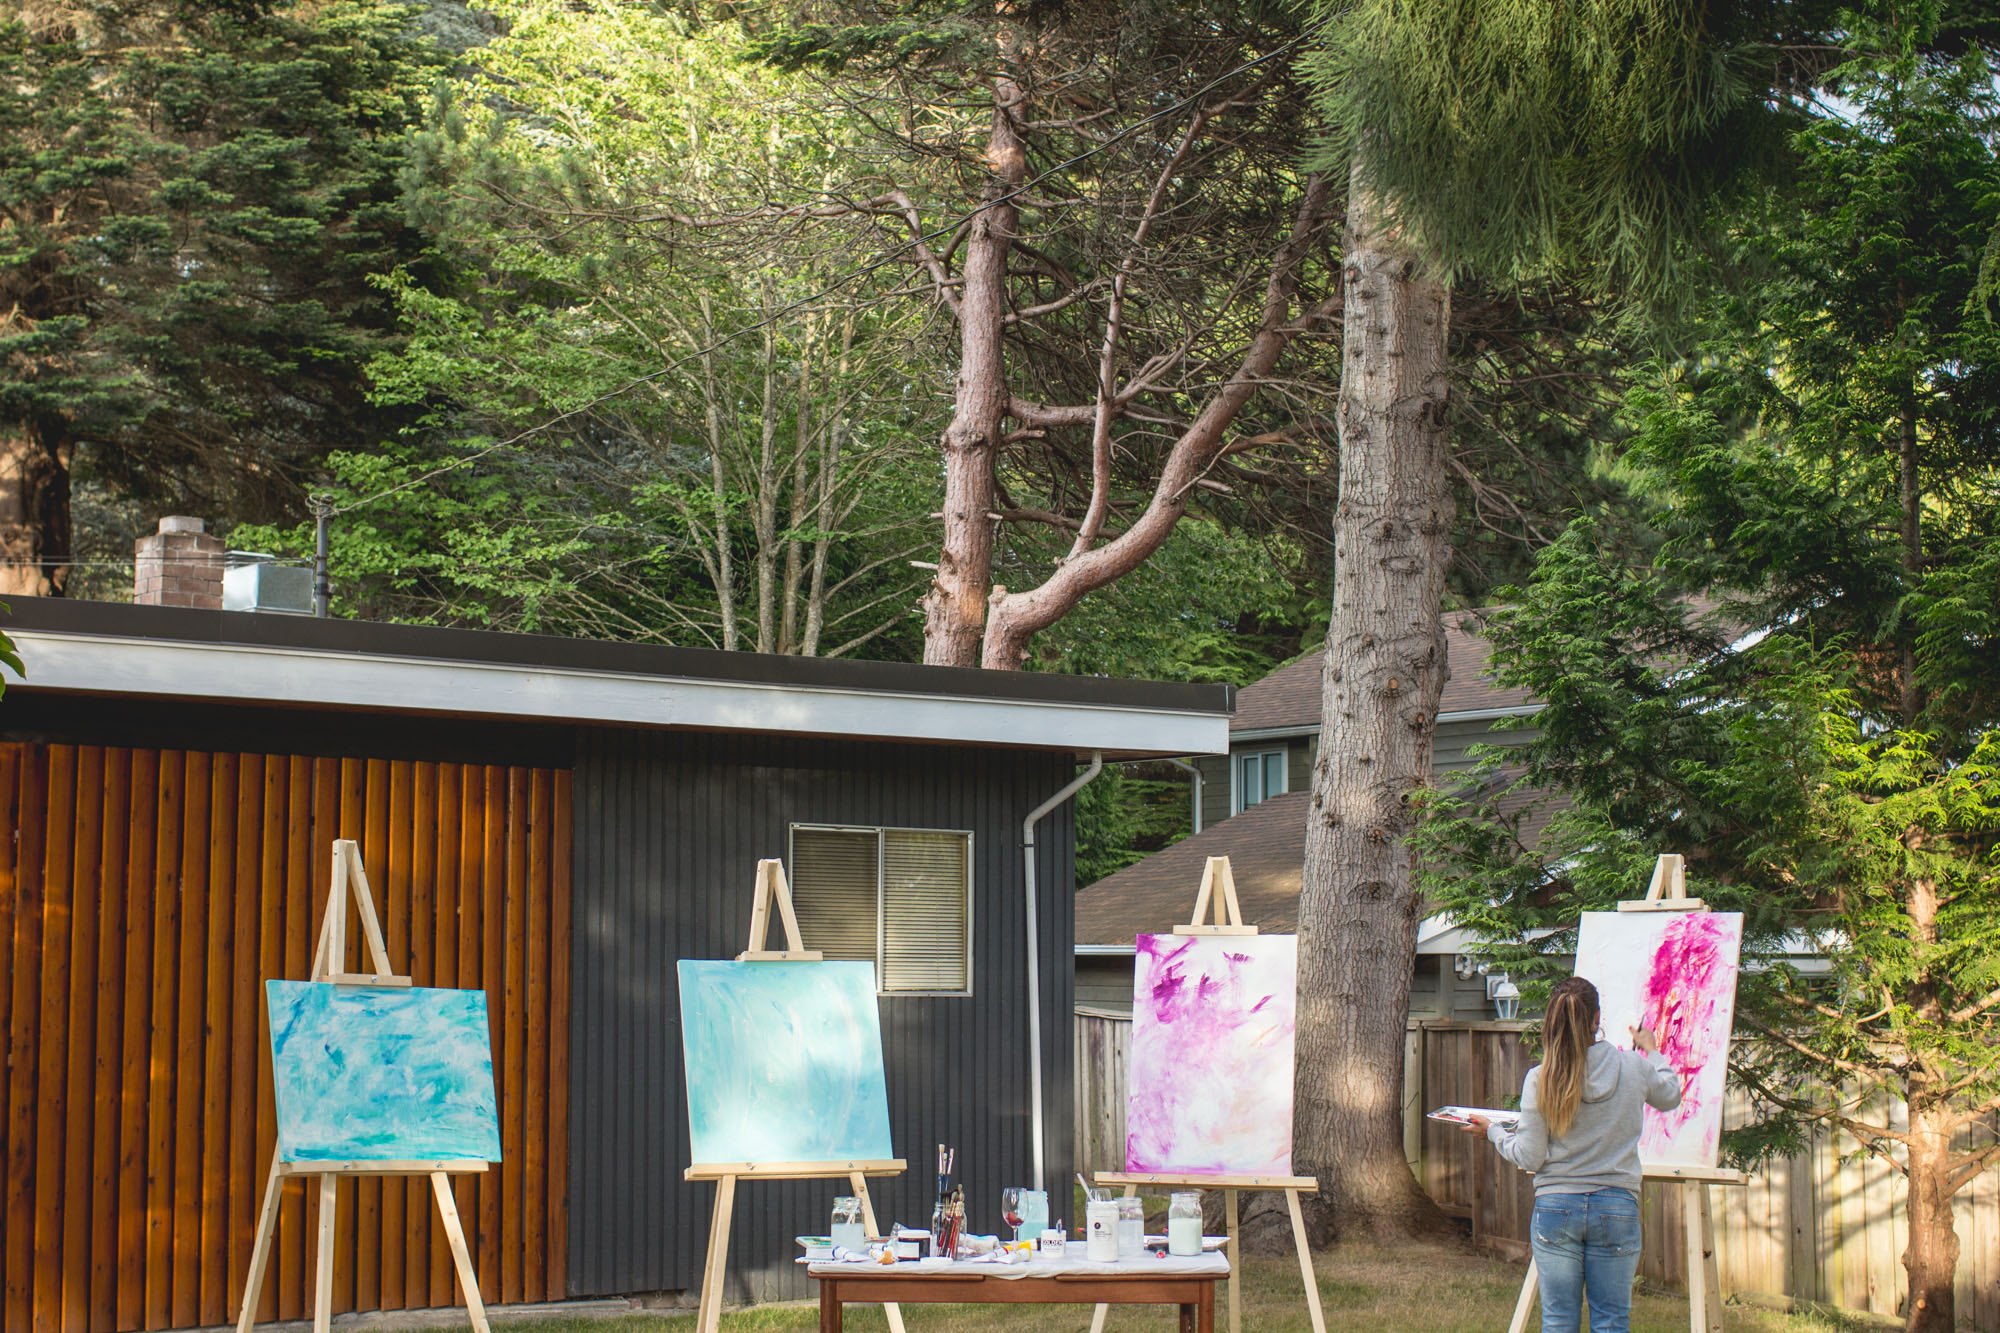
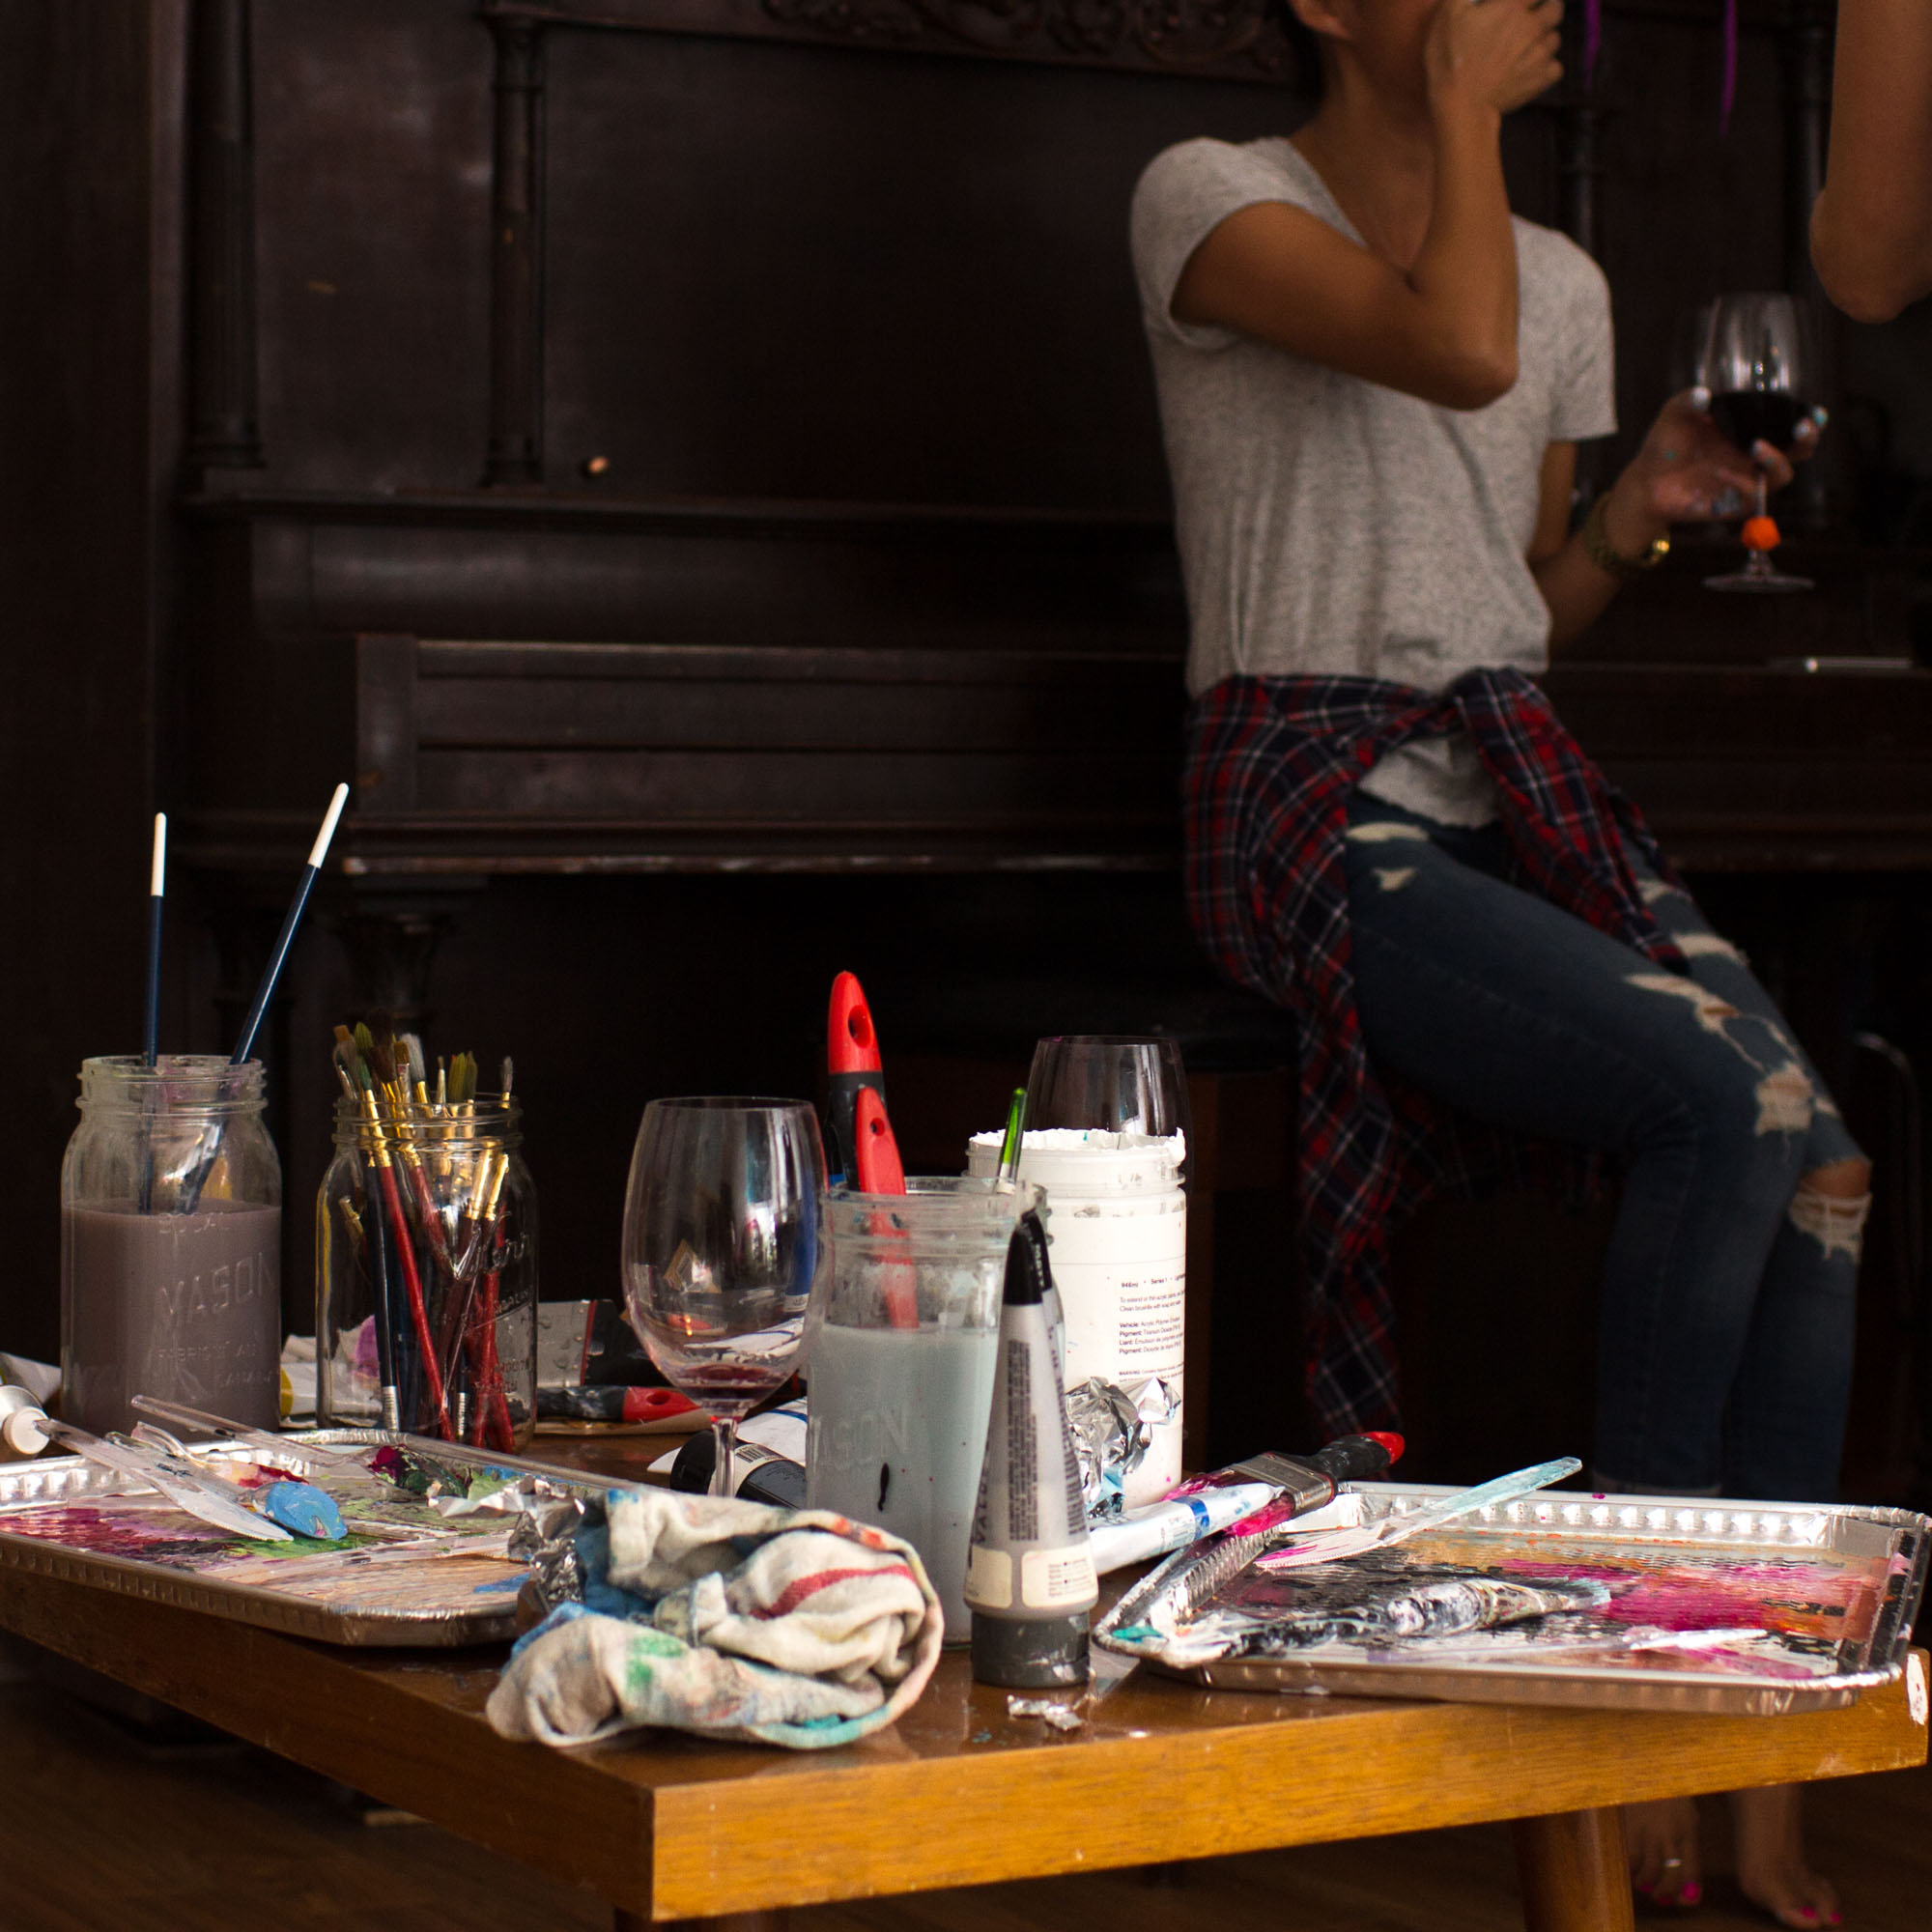
After a million revisions, Paint Night was relocated and whittled down to a tight group of 4 ladies.  This was not the original plan, but it ended up working perfectly for a simple test run.  If we are defining success by delicious food, wet whistles, and attendees who had a great time and left happy with their final product, then in spite of a sudden downpour, Paint Night was a definitely success!

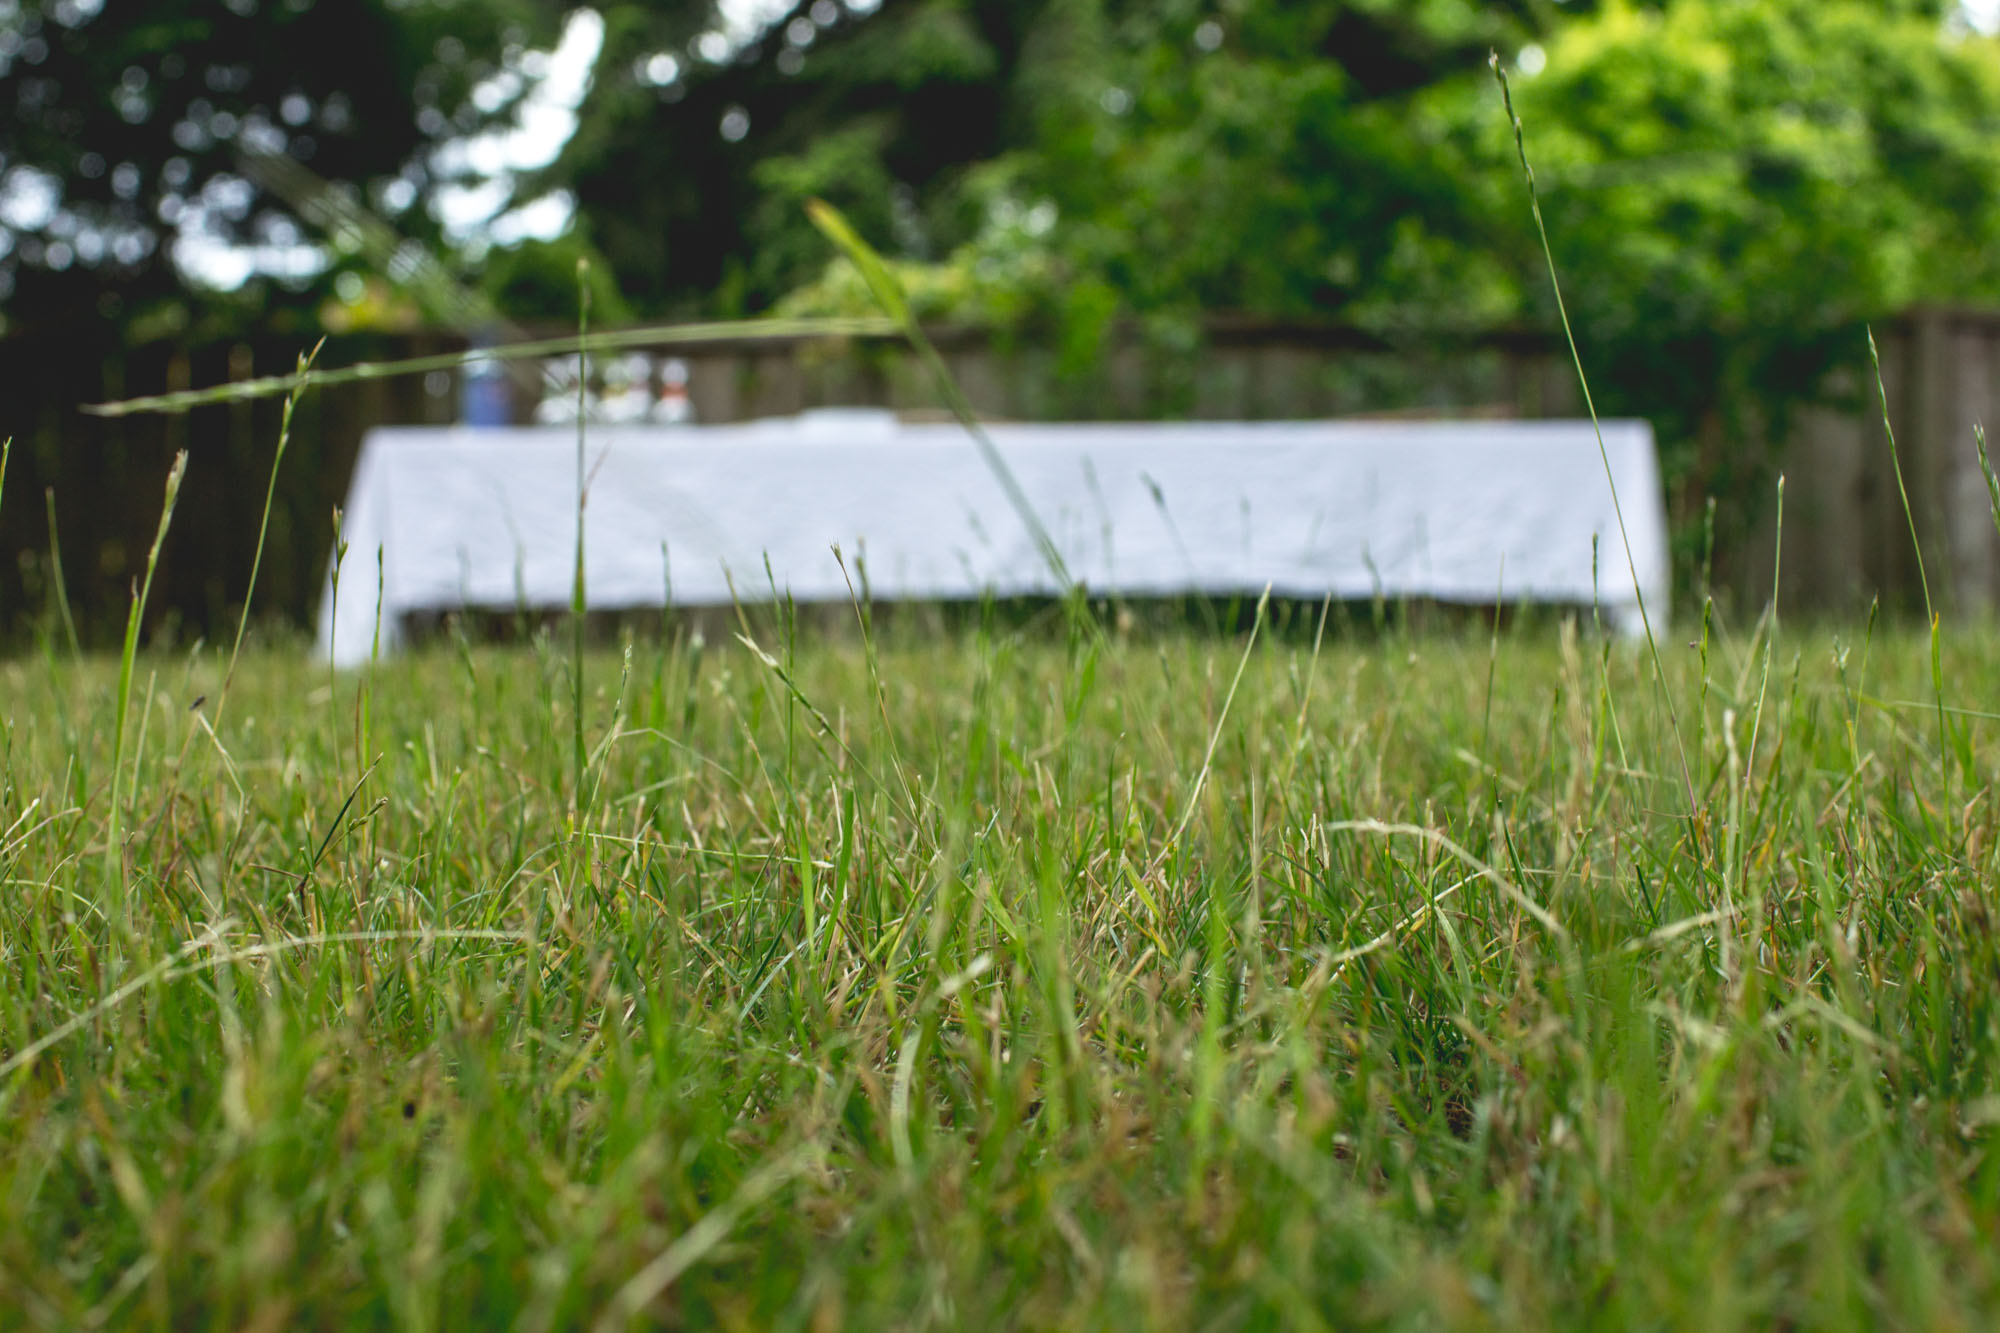
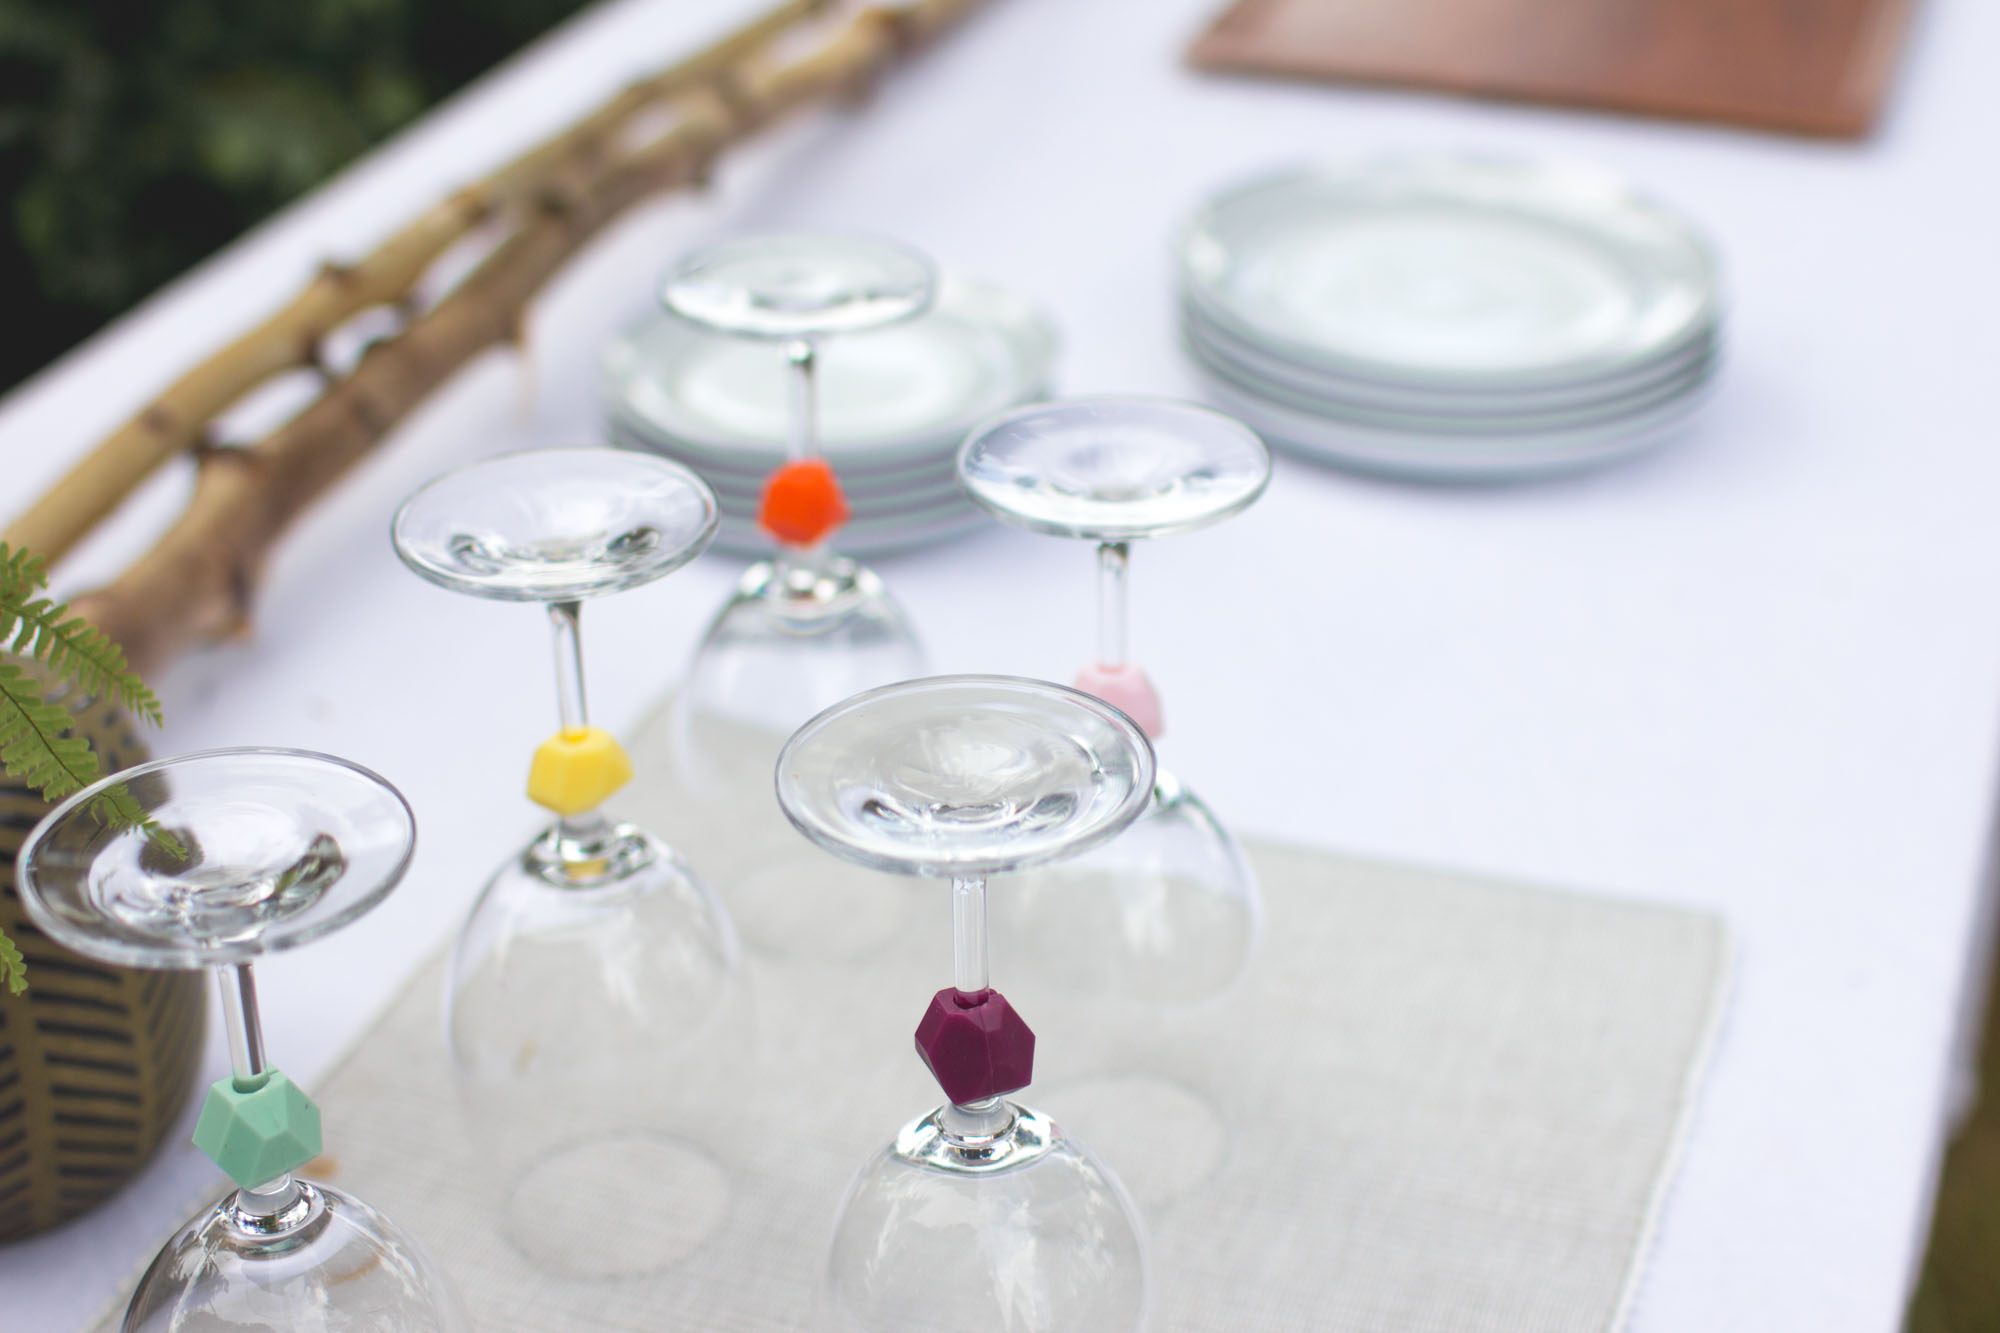
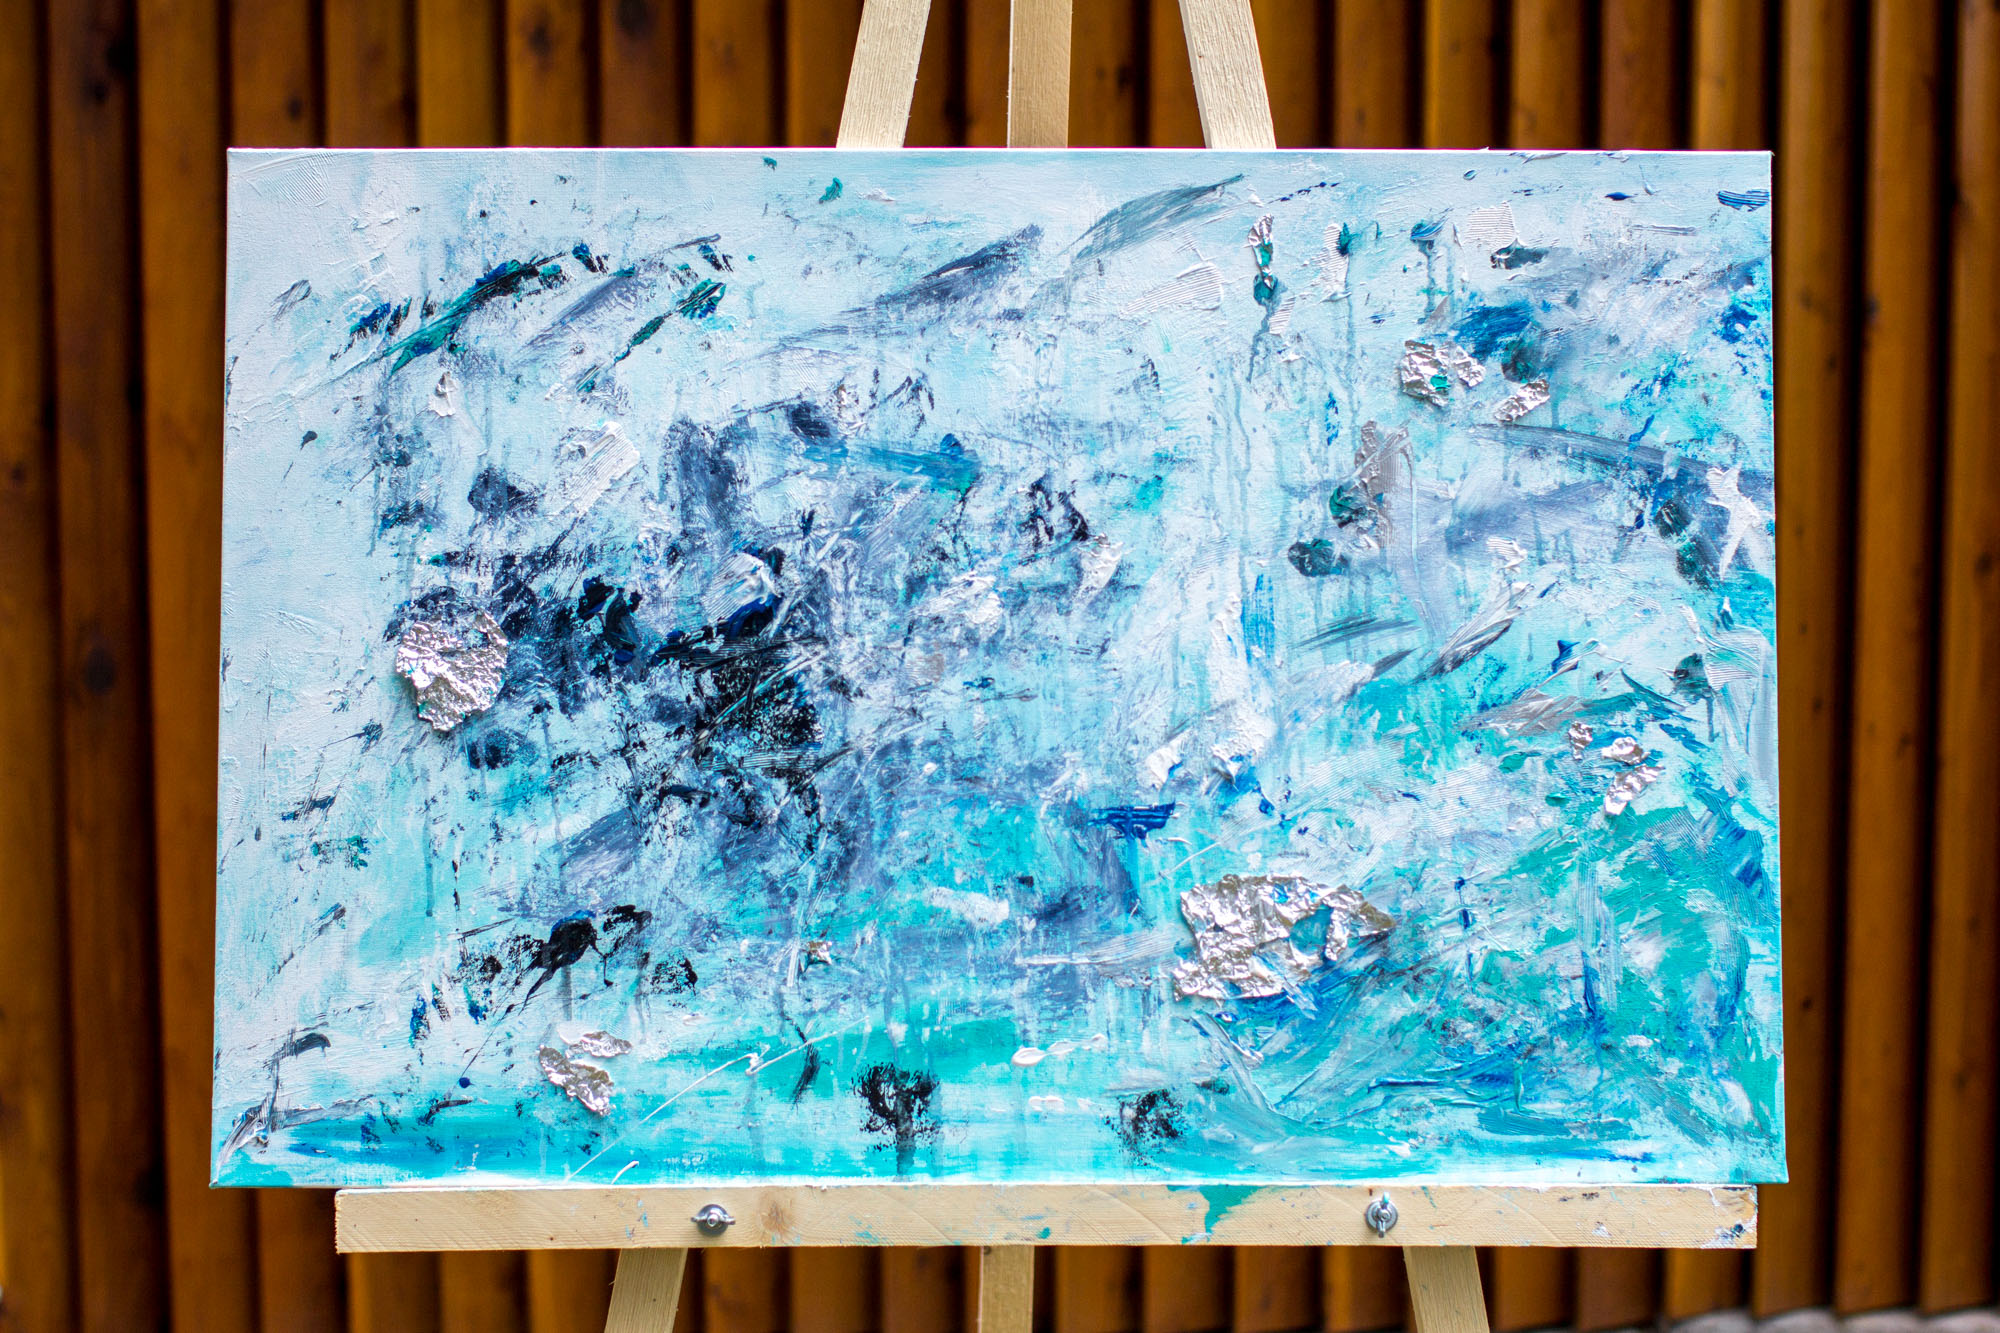
Downpour?  Yes, we had a very unexpected 20 minutes downpour midway through the event (as well as all day Saturday...), so these photos are actually a compilation of 3 different days of documentation.  We all had to scramble to bring everything inside: the table full of paints, the food table, the rug for chilling, and of course all the easels with their canvasses.  The rain failed to dampen our spirits and we continued on drinking + painting in the middle of my living room!  Snacks and dessert was served just before Kevin arrived home.  He was probably expecting/hoping to return to a quiet home, however, he was instead accosted by a room of roaring ladies forcing him to play "guess whose painting is whose" followed by a critique of each piece.  Best.

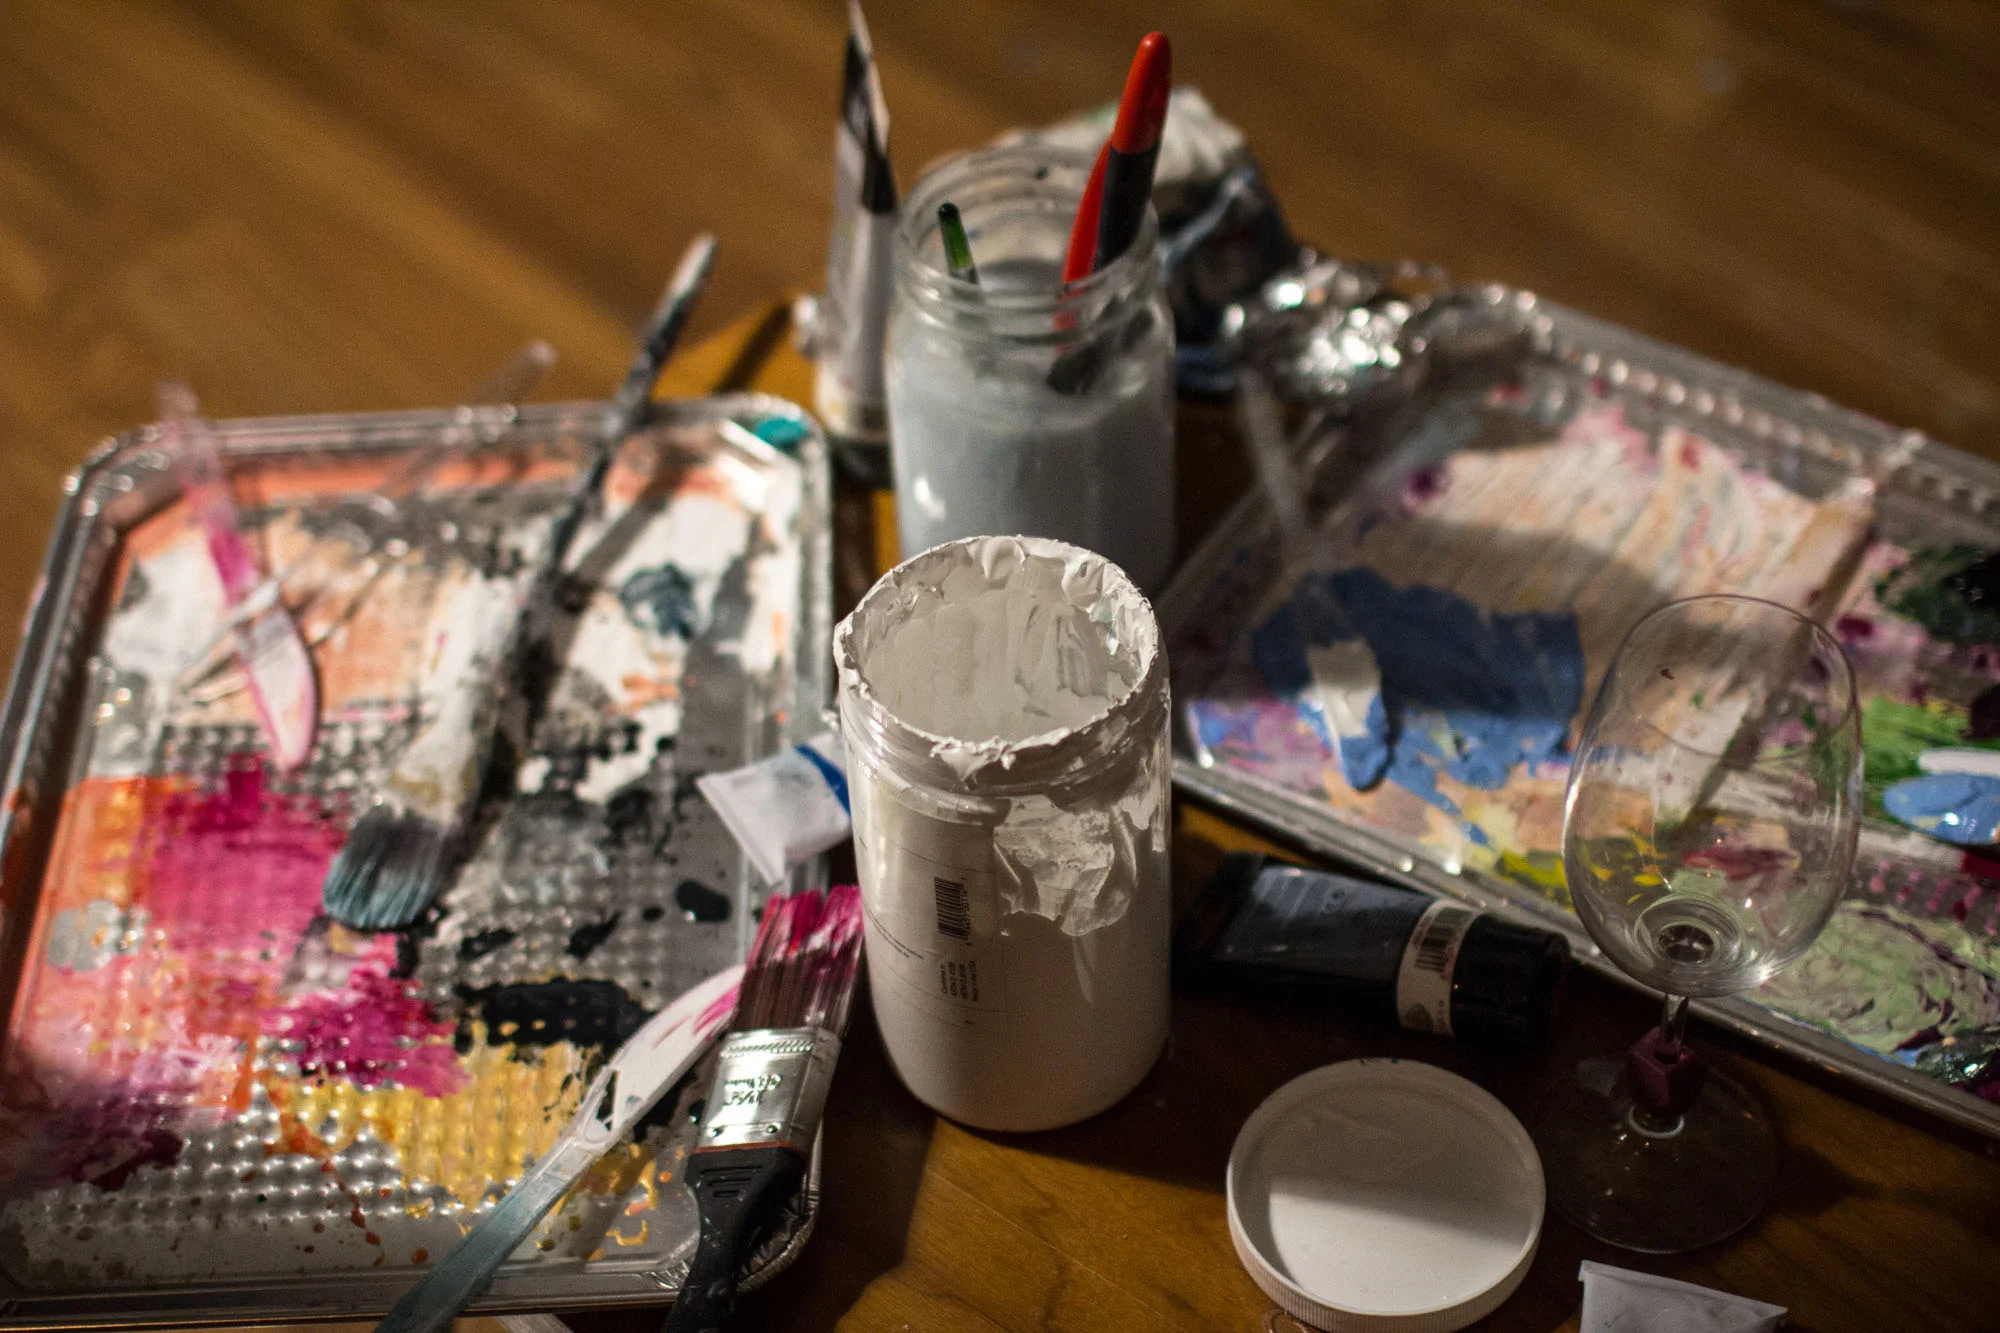
Alright, enough chatting, onto the photos...

RECIPES
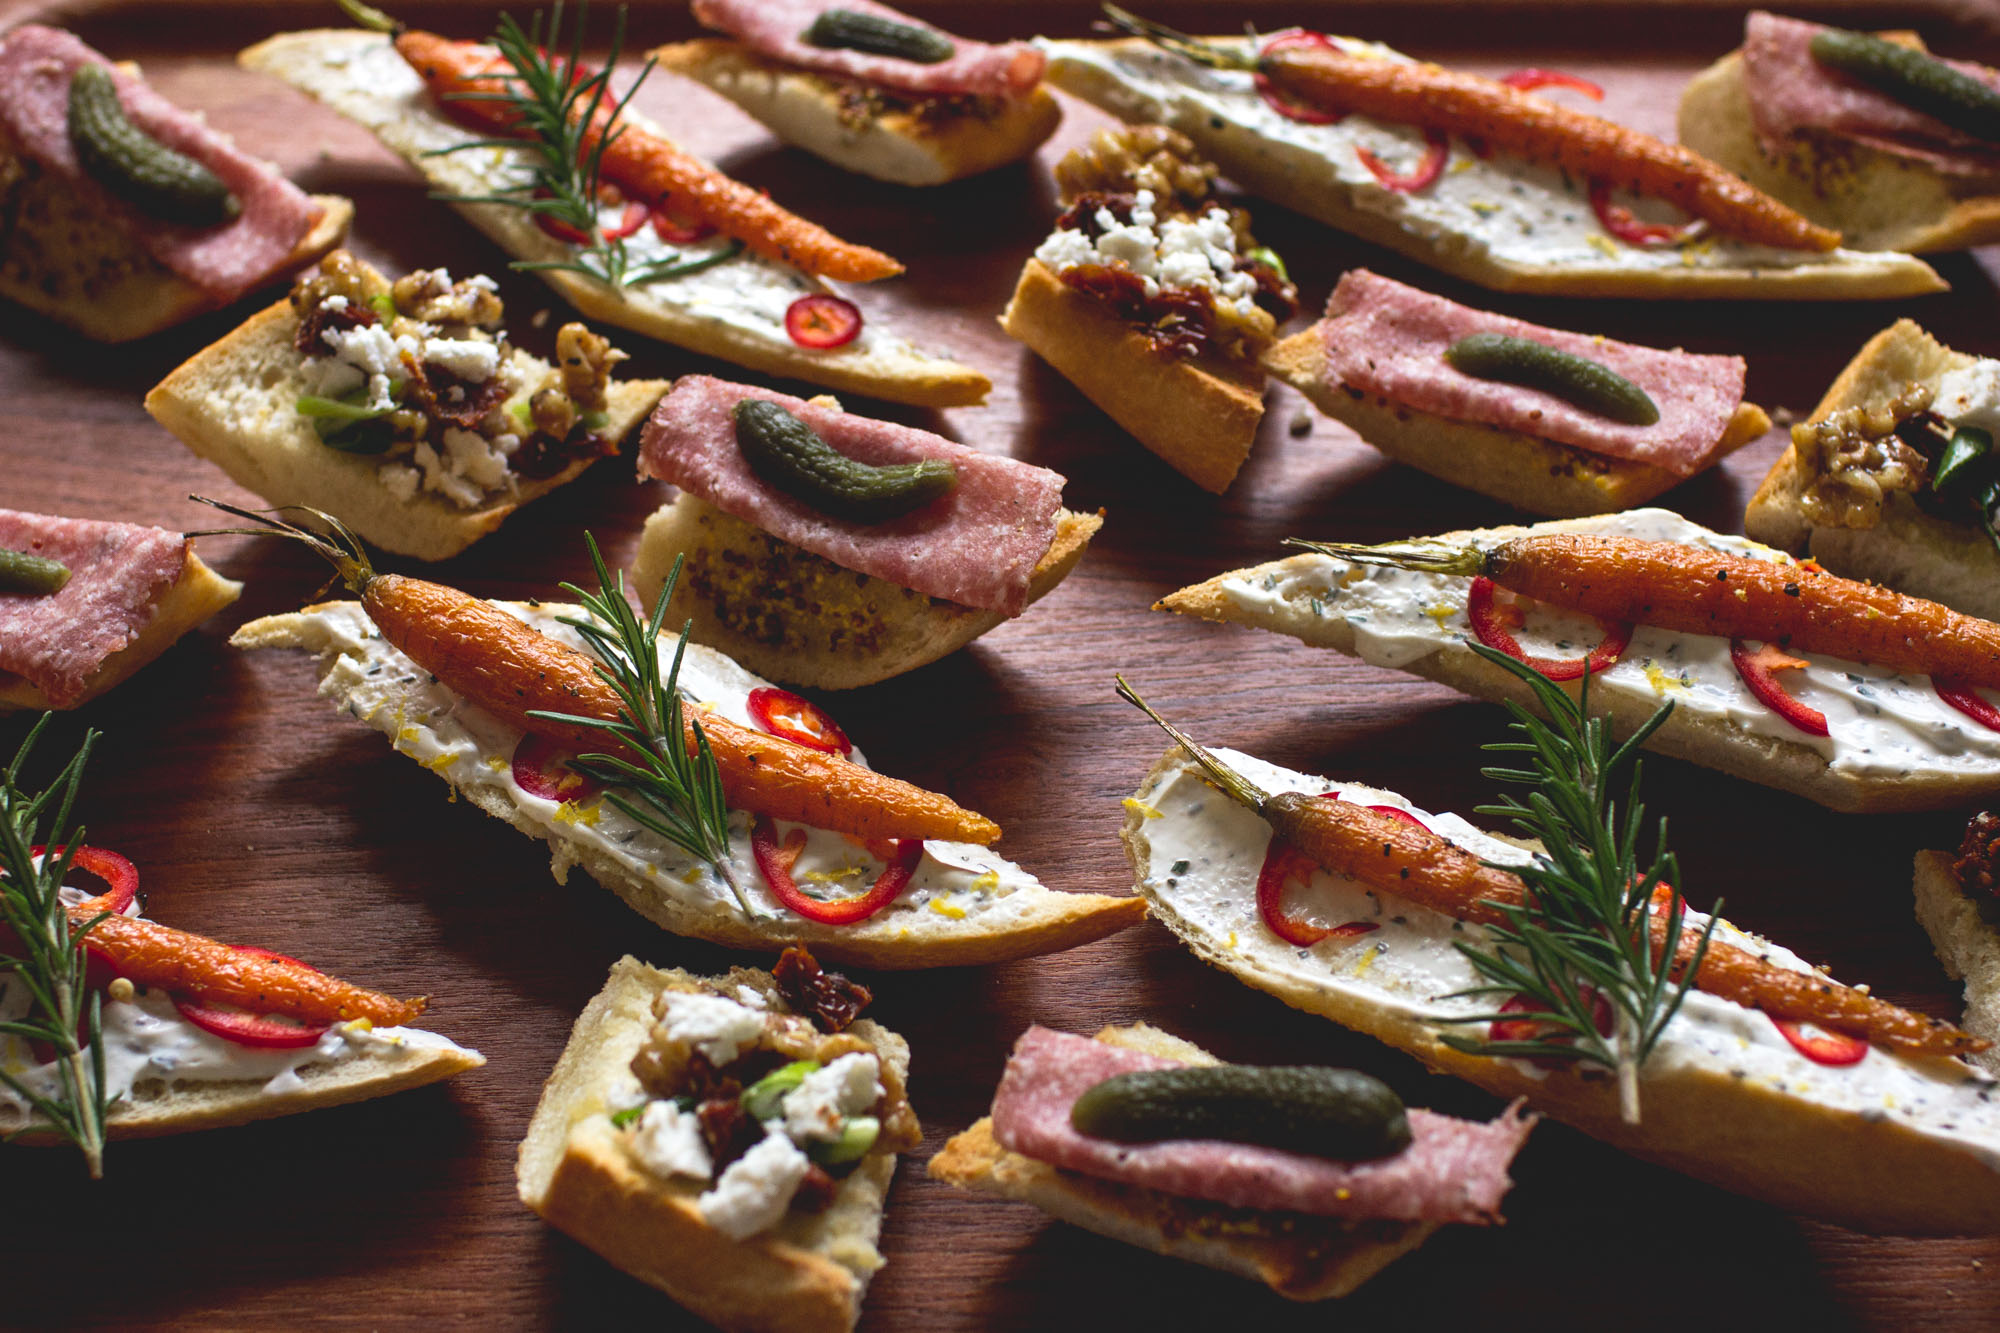
Crostini Platter via The Artful Desperado
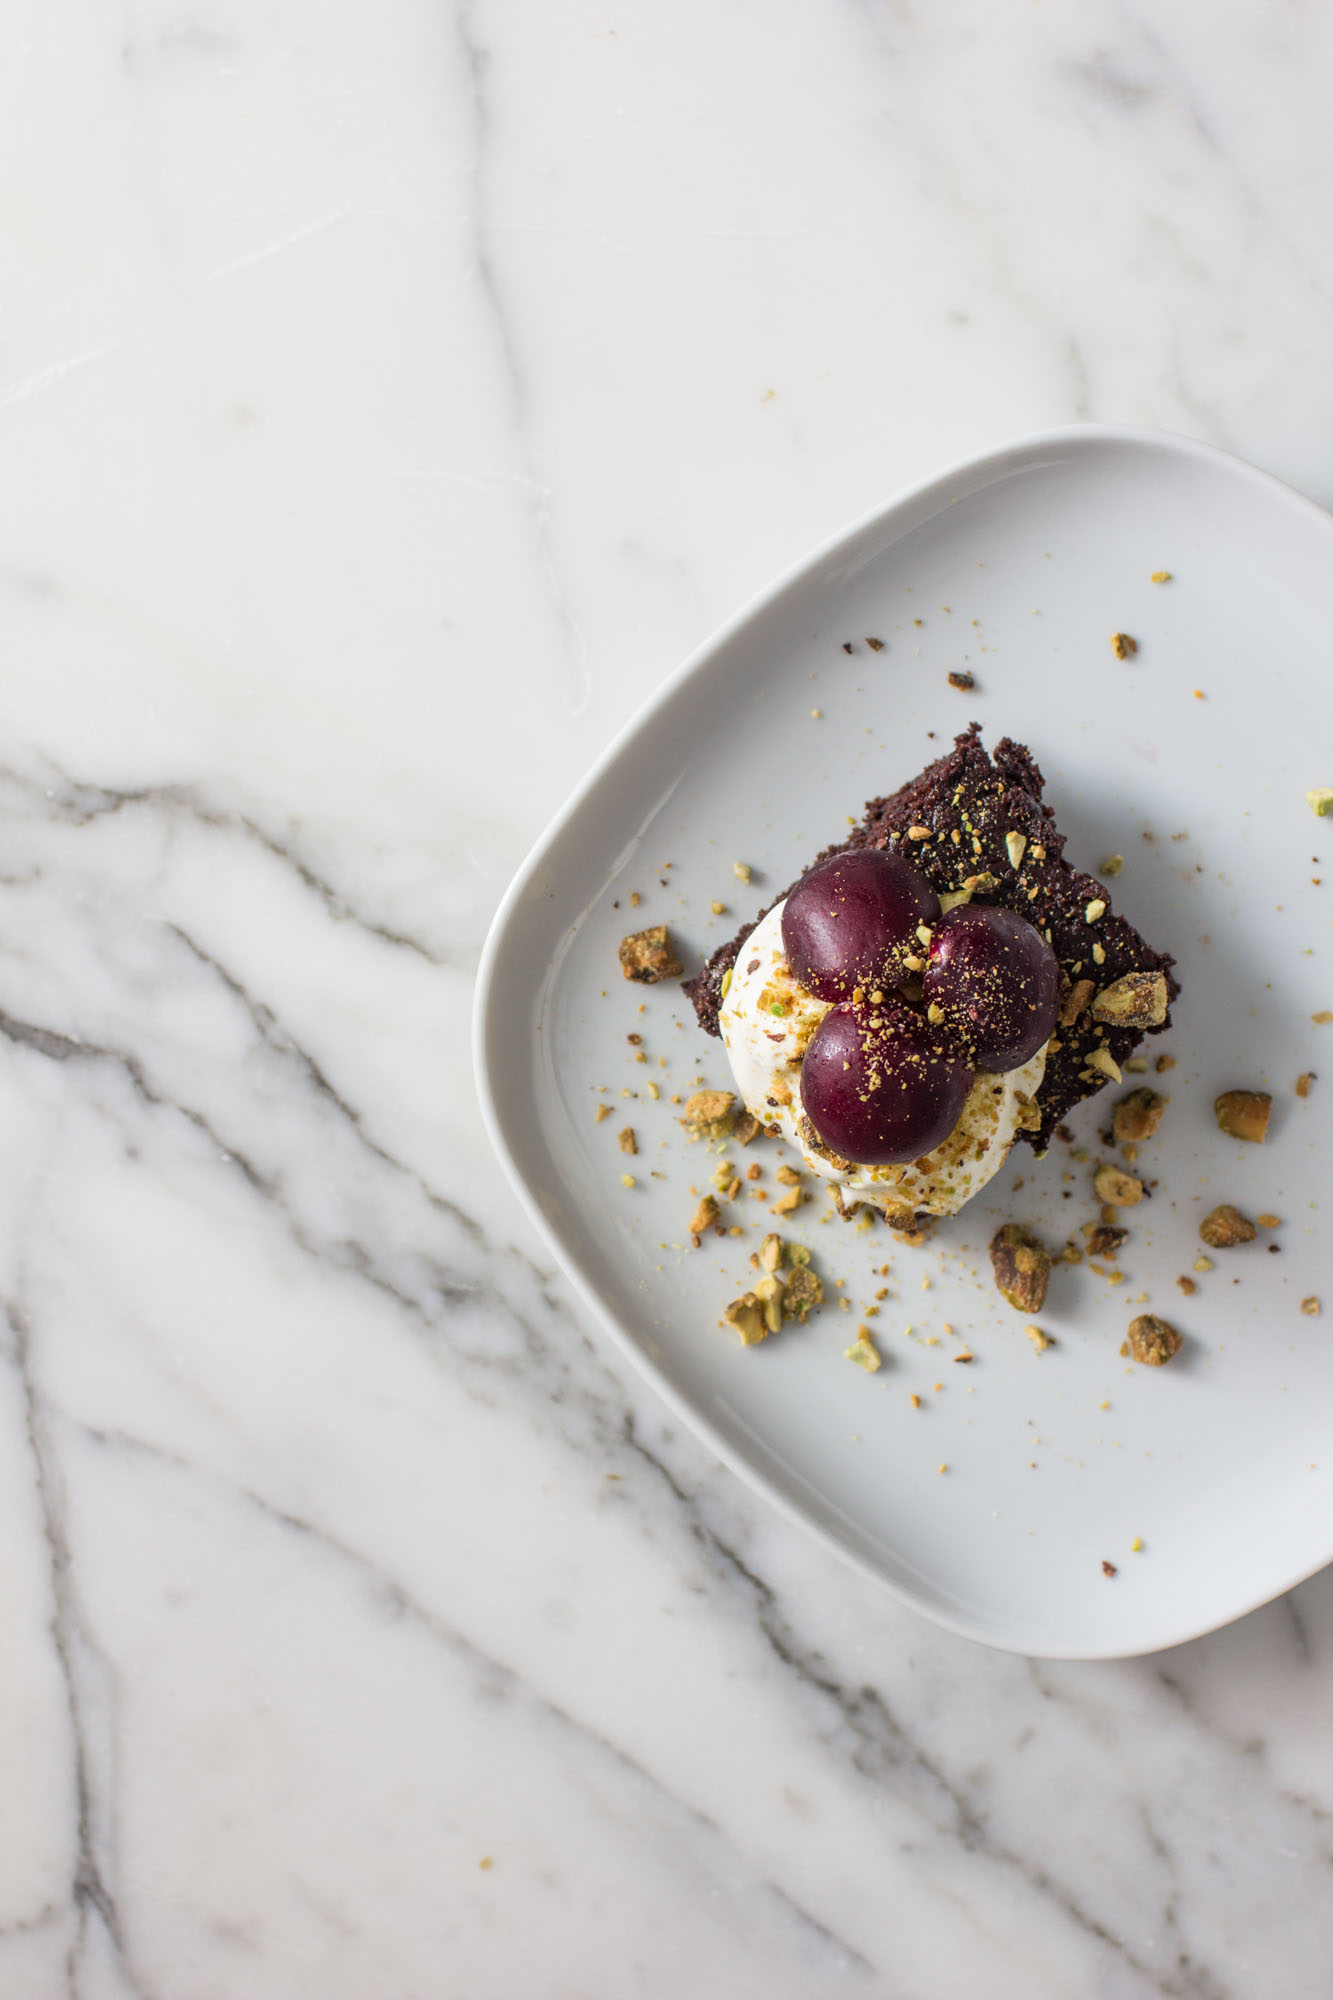
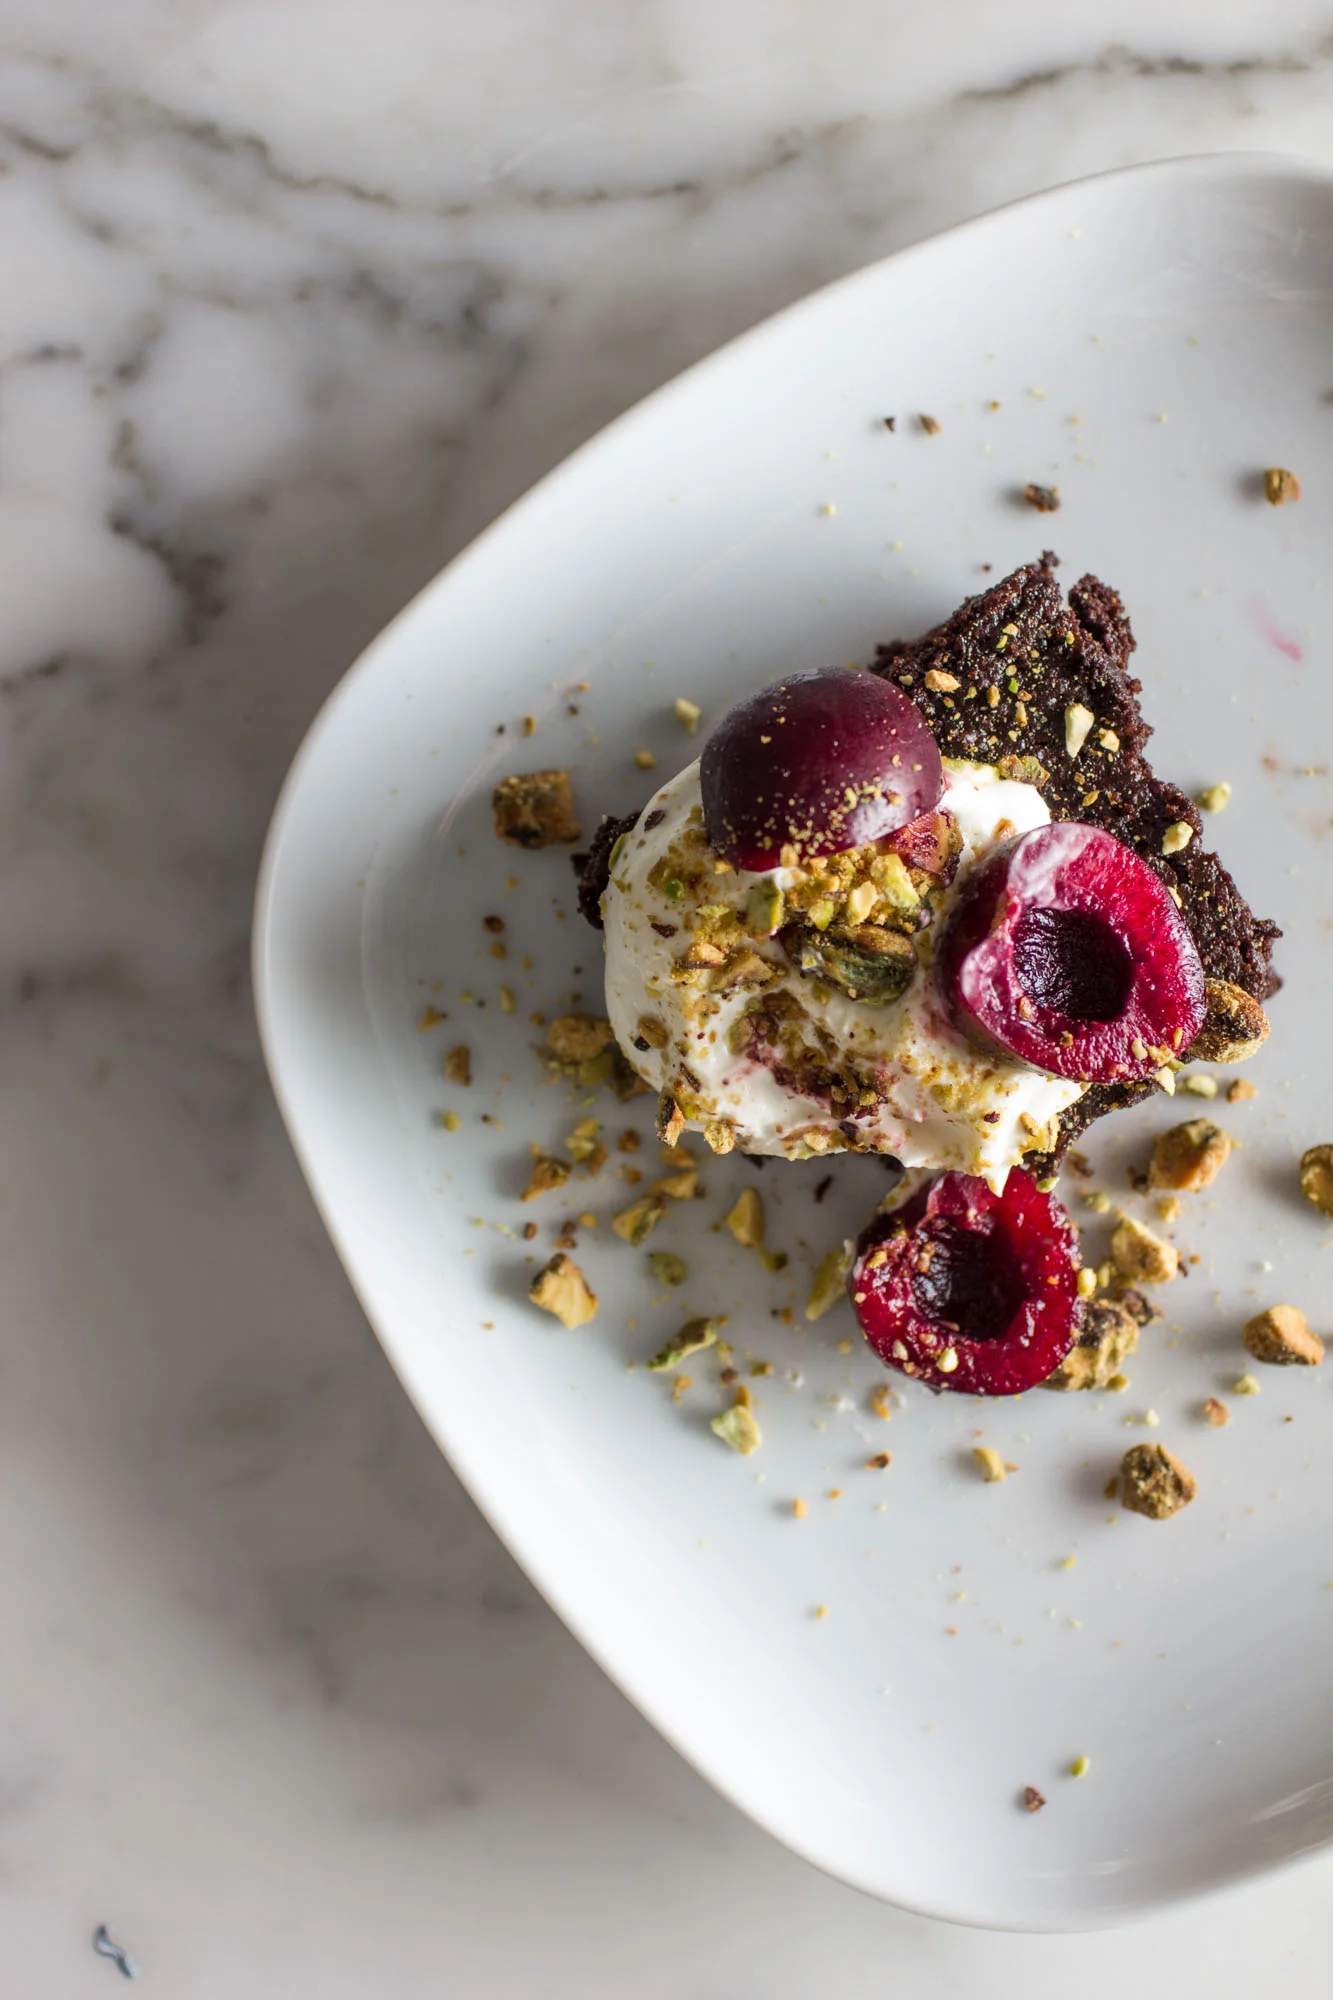
Chocolate Cake inspired by ILĀ


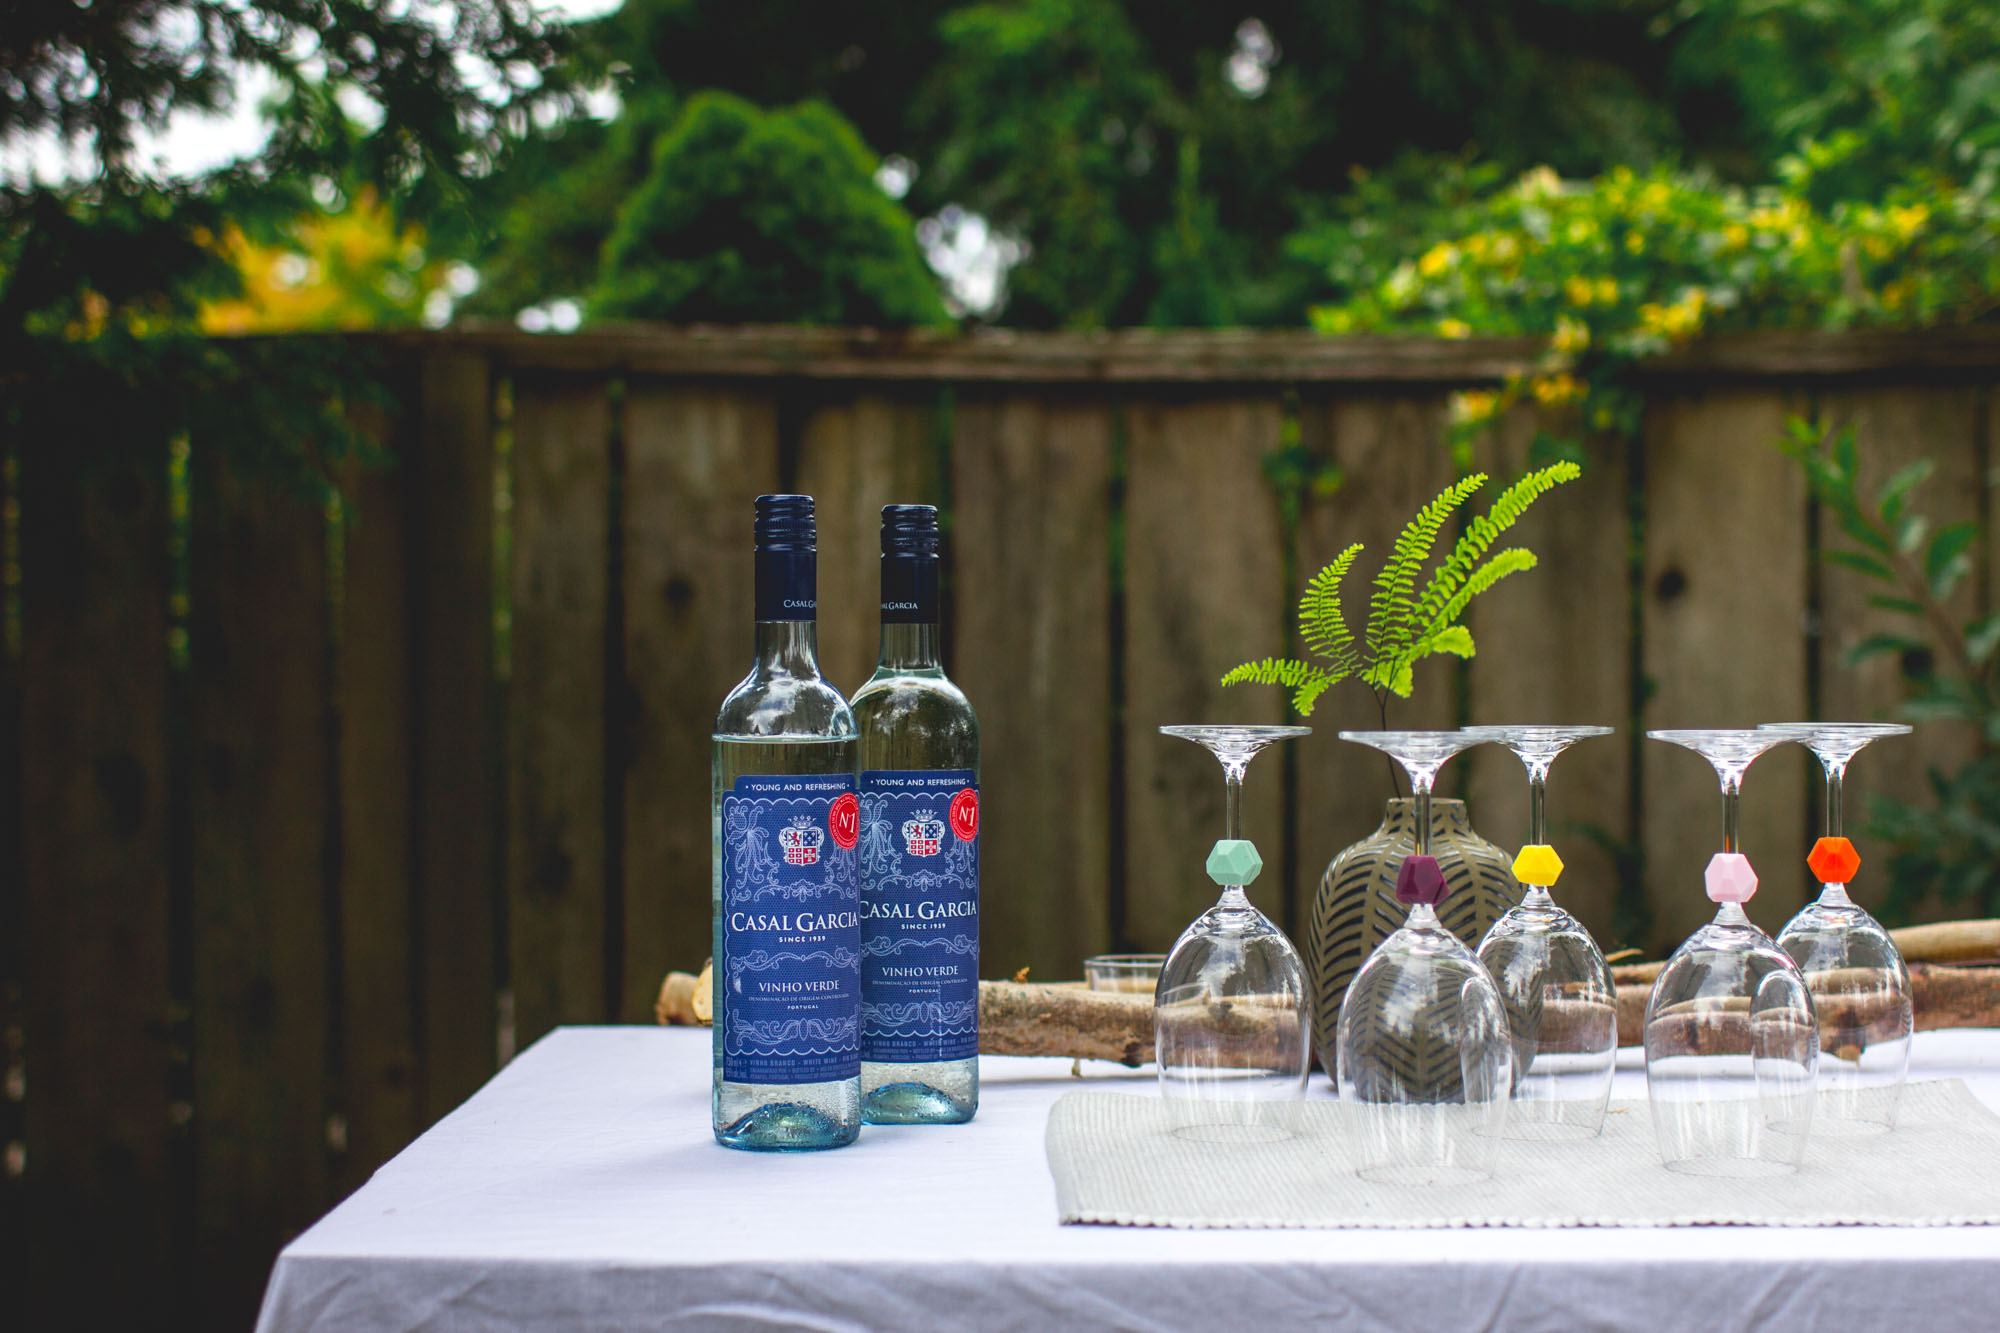
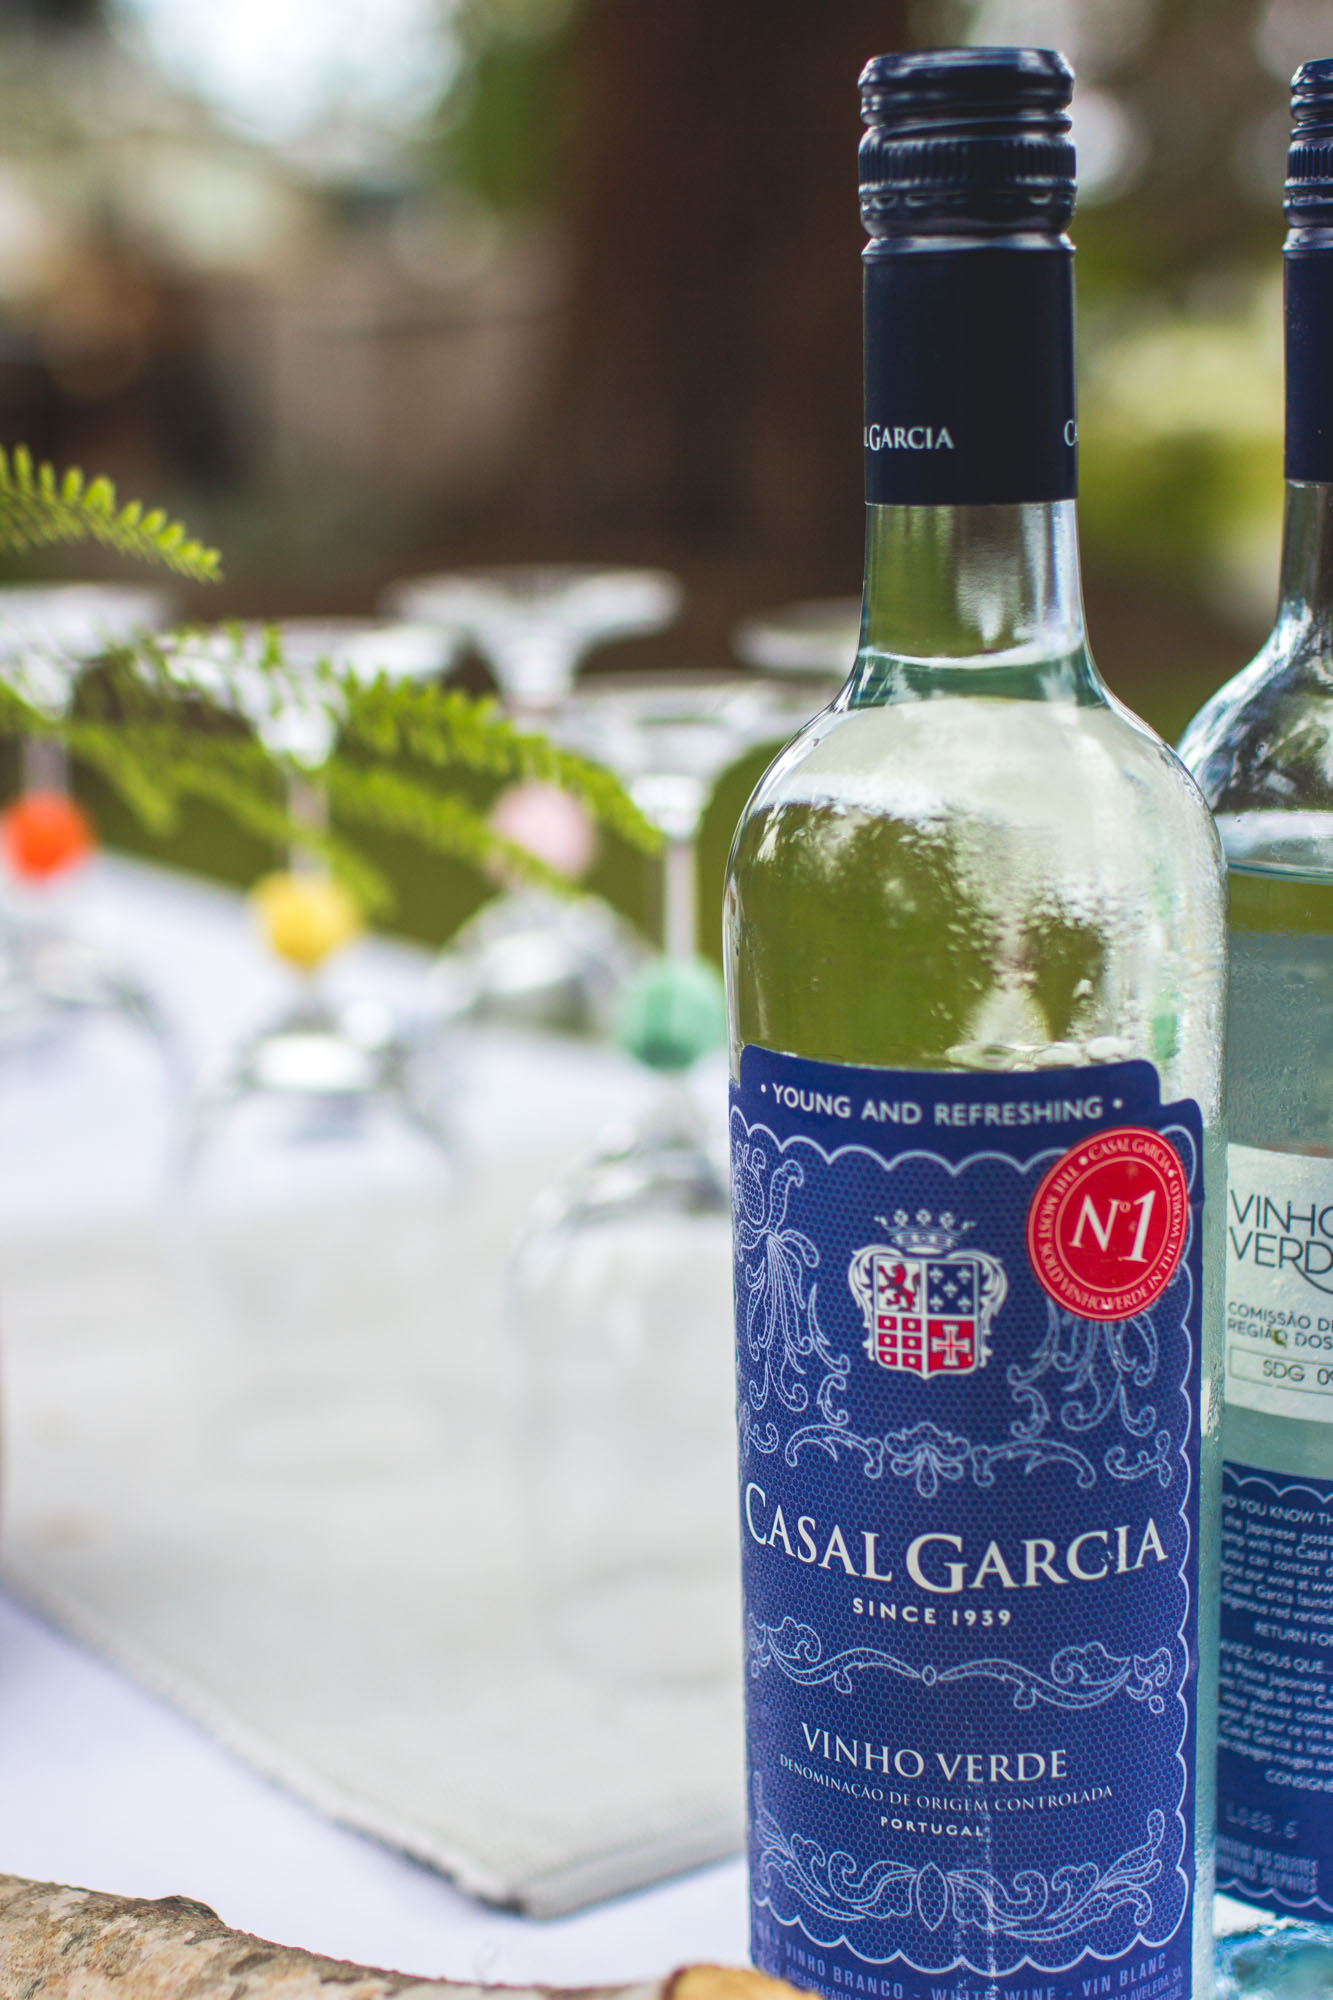
Mega thanks to Kevin for the insane amount of work he did throughout the week helping to prepare everything from designing + building easels to slaving in the kitchen making all the delicious food and sangria for our lovely guests.  Big hugs to my buddy Dave for helping me to streamline my ideas and keep my mind focus while accompanying me on the grocery run!

Stay Tuned for PAINT NIGHT No.2 coming this July!  Date to be announced!


DIY Ghostbusters Proton Pack

Happy Weekend!  Thought I would share a bit of creativity outside of photography to spice things up here.  When we first moved to Tsawwassen (my husband's hometown) after Moses was born, our next door neighbours were pregnant with their first child, Ty.  

Today is his 4th Birthday!  The boys have grown up together and though they have moved out of our condo and across the street, we still be tight.  Ty is currently gaga over Ghostbusters so yesterday at 7:30pm, I brought out a cardboard box and started Googling PROTON PACK.  As I had hoped, Kevin saw my poor artistic attempt to execute a DIY version of the Ghostbusters ghost-buster and stepped in.  Being the creative, hoarding mechanic that he is, this project could not have been more up his alley.  4 hours later, everything but the straps was complete.

DIY title.jpg
The Original

The Original

Using cardboard, tins, wires and bits and pieces of random electrical gadgets, the only money we had to shell out was $4 worth of the straps and velcro.  This large gold looking piece is one of our old kitchen lights that had blown out, the ver…

Using cardboard, tins, wires and bits and pieces of random electrical gadgets, the only money we had to shell out was $4 worth of the straps and velcro.  This large gold looking piece is one of our old kitchen lights that had blown out, the very same stupid lights that our neighbours also had to suffer through when living next to us.  Kevin added the spring over the cable for some excellent texture.  I punched out a button for the Ghostbusters logo that fit PERFECTLY in the metal piece from our old garburetor.  The white "fuses" are leftover pieces from the kids' IKEA bunkbed.

The more tactile and versatile, the better!  Kevin used a tin that had been long part of the kids' kitchen playthings to create storage space for small toys or treats.  Yes, that is a real Canadian Standard Association approval sticker! HA!

The more tactile and versatile, the better!  Kevin used a tin that had been long part of the kids' kitchen playthings to create storage space for small toys or treats.  Yes, that is a real Canadian Standard Association approval sticker! HA!

IMG_8550 2.jpg
Two smaller tins from laser pointers for additional storage (complete with CAUTION stickers!).  The cylindrical shape is indeed a toilet paper roll.  The back side was not yet complete as I wanted to take photos prior to attaching the back…

Two smaller tins from laser pointers for additional storage (complete with CAUTION stickers!).  The cylindrical shape is indeed a toilet paper roll.  The back side was not yet complete as I wanted to take photos prior to attaching the back straps, hence the open flap of cardboard.

The kitchen light was cool because of its moveable dial.  The box above the light fixture is the bottom of an Altoids tin.  The transformer (electrical piece) and the vent along the right side were both from the busted kitchen light.

The kitchen light was cool because of its moveable dial.  The box above the light fixture is the bottom of an Altoids tin.  The transformer (electrical piece) and the vent along the right side were both from the busted kitchen light.

And last but not least: the hose is from our bunk vacuum cleaner.  Attached to it is 3 parts: switch from IKEA light glued onto a plastic Play-Doh tube, and lastly, yet another piece from the kitchen light.  Who knew that light would go su…

And last but not least: the hose is from our bunk vacuum cleaner.  Attached to it is 3 parts: switch from IKEA light glued onto a plastic Play-Doh tube, and lastly, yet another piece from the kitchen light.  Who knew that light would go such a long way after all the trouble it caused!

I had to check out three places after Chloe's dance class to find nylon webbing and velcro for the straps.  Got home at 11:20am and the party started at Noon!  Just enough time to spare for photos and attaching the straps!

Pretty freaking cool.  I was a little worried at first, whether or not Ty would be into it, but when his Mama showed me the flattened cardboard box that was half flapping against a Teenage Mutant Ninja Turtle shell, I was reassured this would be well received!

HAPPY BIRTHDAY TY!