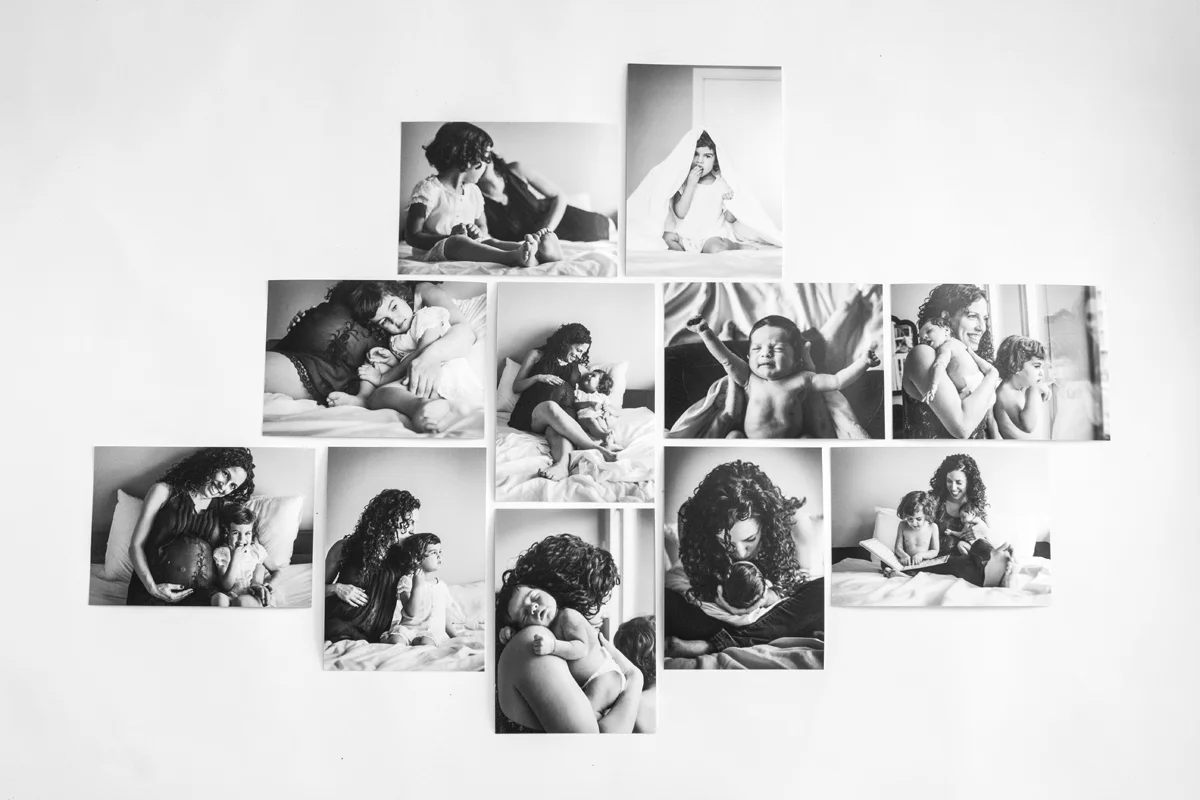
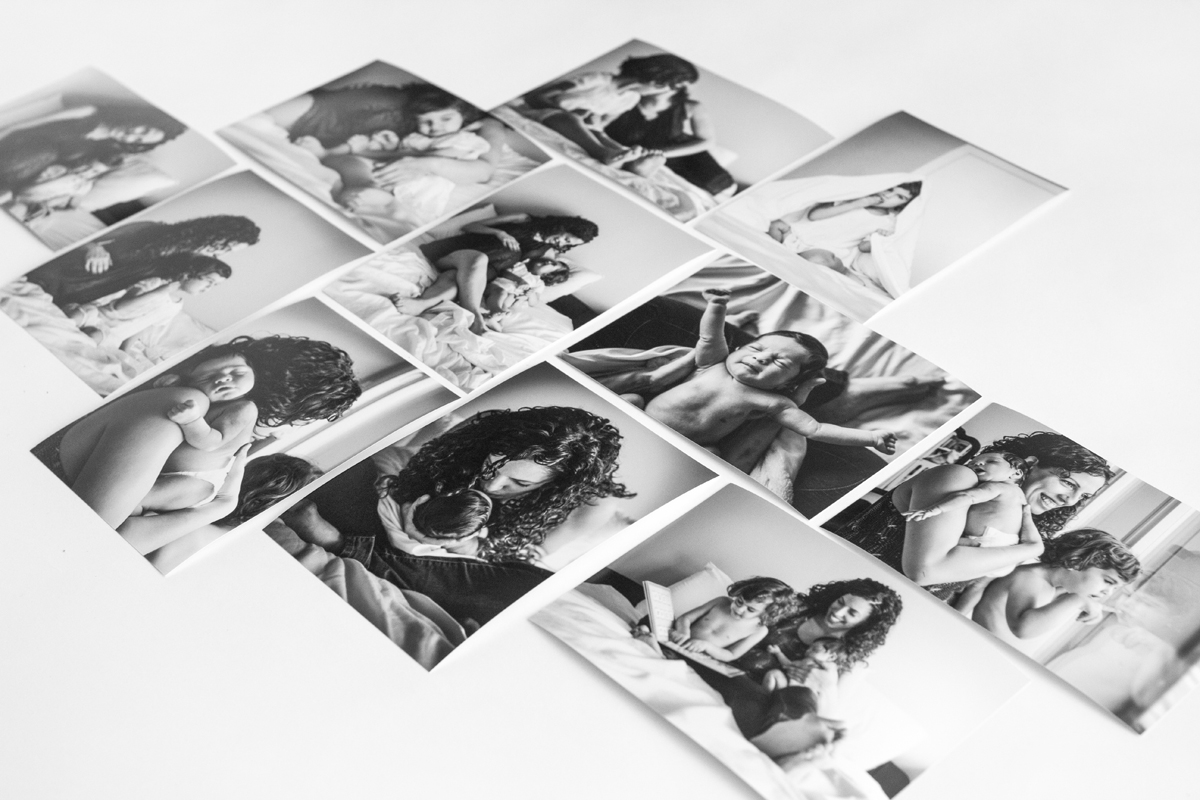
Prints have arrived for Ms Rita with the canvas en route. Can't wait to deliver these!
Definitely one of my favourite sessions to date.

Prints have arrived for Ms Rita with the canvas en route. Can't wait to deliver these!

Definitely one of my favourite sessions to date.
Happy Weekend! Thought I would share a bit of creativity outside of photography to spice things up here. When we first moved to Tsawwassen (my husband's hometown) after Moses was born, our next door neighbours were pregnant with their first child, Ty.
Today is his 4th Birthday! The boys have grown up together and though they have moved out of our condo and across the street, we still be tight. Ty is currently gaga over Ghostbusters so yesterday at 7:30pm, I brought out a cardboard box and started Googling PROTON PACK. As I had hoped, Kevin saw my poor artistic attempt to execute a DIY version of the Ghostbusters ghost-buster and stepped in. Being the creative, hoarding mechanic that he is, this project could not have been more up his alley. 4 hours later, everything but the straps was complete.


The Original

Using cardboard, tins, wires and bits and pieces of random electrical gadgets, the only money we had to shell out was $4 worth of the straps and velcro. This large gold looking piece is one of our old kitchen lights that had blown out, the very same stupid lights that our neighbours also had to suffer through when living next to us. Kevin added the spring over the cable for some excellent texture. I punched out a button for the Ghostbusters logo that fit PERFECTLY in the metal piece from our old garburetor. The white "fuses" are leftover pieces from the kids' IKEA bunkbed.

The more tactile and versatile, the better! Kevin used a tin that had been long part of the kids' kitchen playthings to create storage space for small toys or treats. Yes, that is a real Canadian Standard Association approval sticker! HA!


Two smaller tins from laser pointers for additional storage (complete with CAUTION stickers!). The cylindrical shape is indeed a toilet paper roll. The back side was not yet complete as I wanted to take photos prior to attaching the back straps, hence the open flap of cardboard.
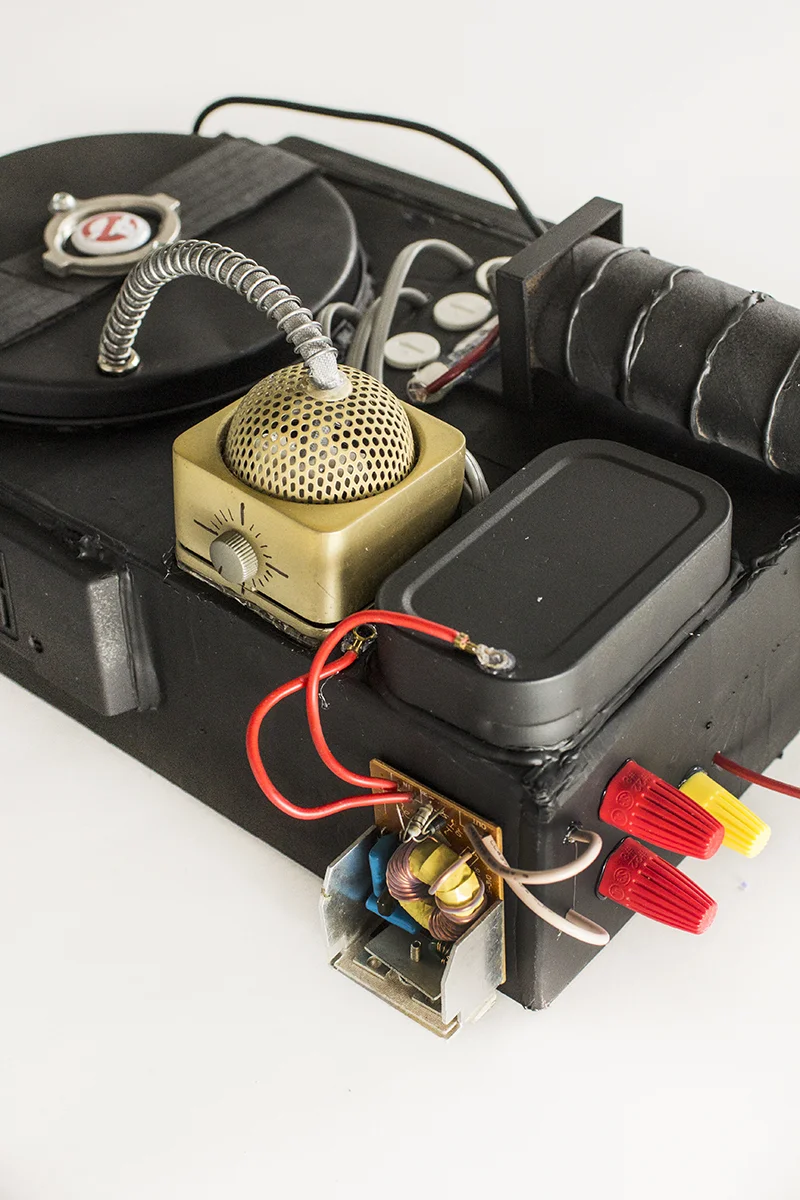
The kitchen light was cool because of its moveable dial. The box above the light fixture is the bottom of an Altoids tin. The transformer (electrical piece) and the vent along the right side were both from the busted kitchen light.
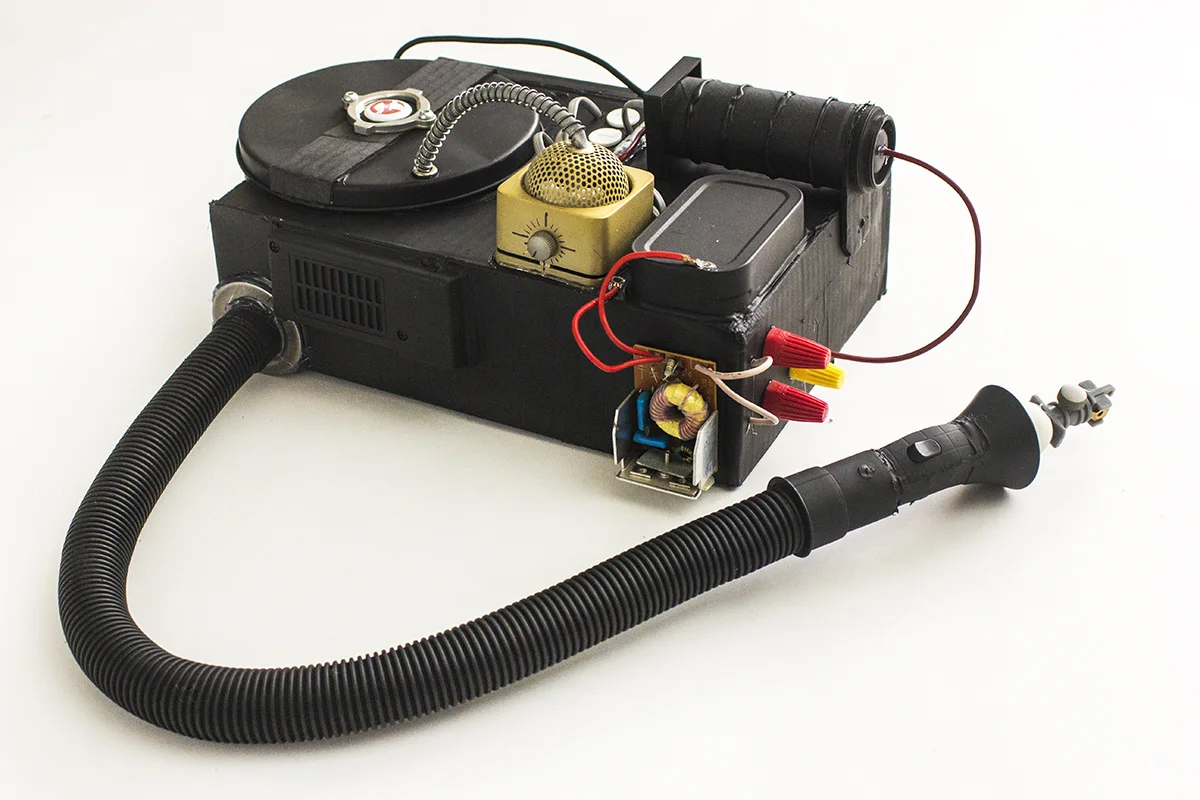
And last but not least: the hose is from our bunk vacuum cleaner. Attached to it is 3 parts: switch from IKEA light glued onto a plastic Play-Doh tube, and lastly, yet another piece from the kitchen light. Who knew that light would go such a long way after all the trouble it caused!
I had to check out three places after Chloe's dance class to find nylon webbing and velcro for the straps. Got home at 11:20am and the party started at Noon! Just enough time to spare for photos and attaching the straps!
Pretty freaking cool. I was a little worried at first, whether or not Ty would be into it, but when his Mama showed me the flattened cardboard box that was half flapping against a Teenage Mutant Ninja Turtle shell, I was reassured this would be well received!
HAPPY BIRTHDAY TY!

I was so excited for my shoot with Chloe, I had no ideas of what I was going to do with Moses. Our home is always upside down when the studio set up comes out and trying to make room to have dinner was starting to get on our nerves. Of course, as soon as I had everything ready, we realized that Moses had a mild fever and was not in any condition to take photos. I gave him half a chewy Advil and sent him for a nap while Chloe and I snuck out to see Frozen (her first movie theatre!). I know, I know, kind of mean, but we had to cancel the previous day and she was really looking forward to it. We needed a girls outing and Moses has been to the theatre twice already. I have more excuses but I'll leave it at that. By the time we came back, he was in great spirits and ready for photos.
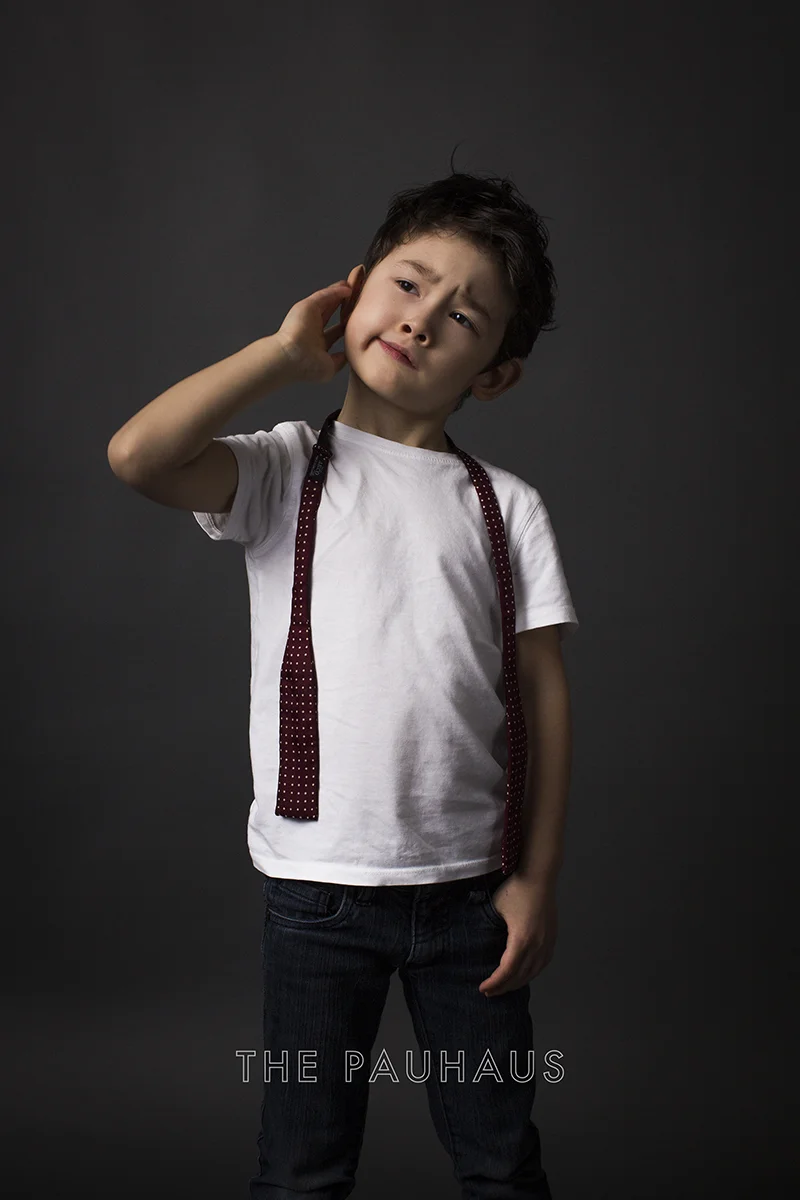
The Boy Next Door
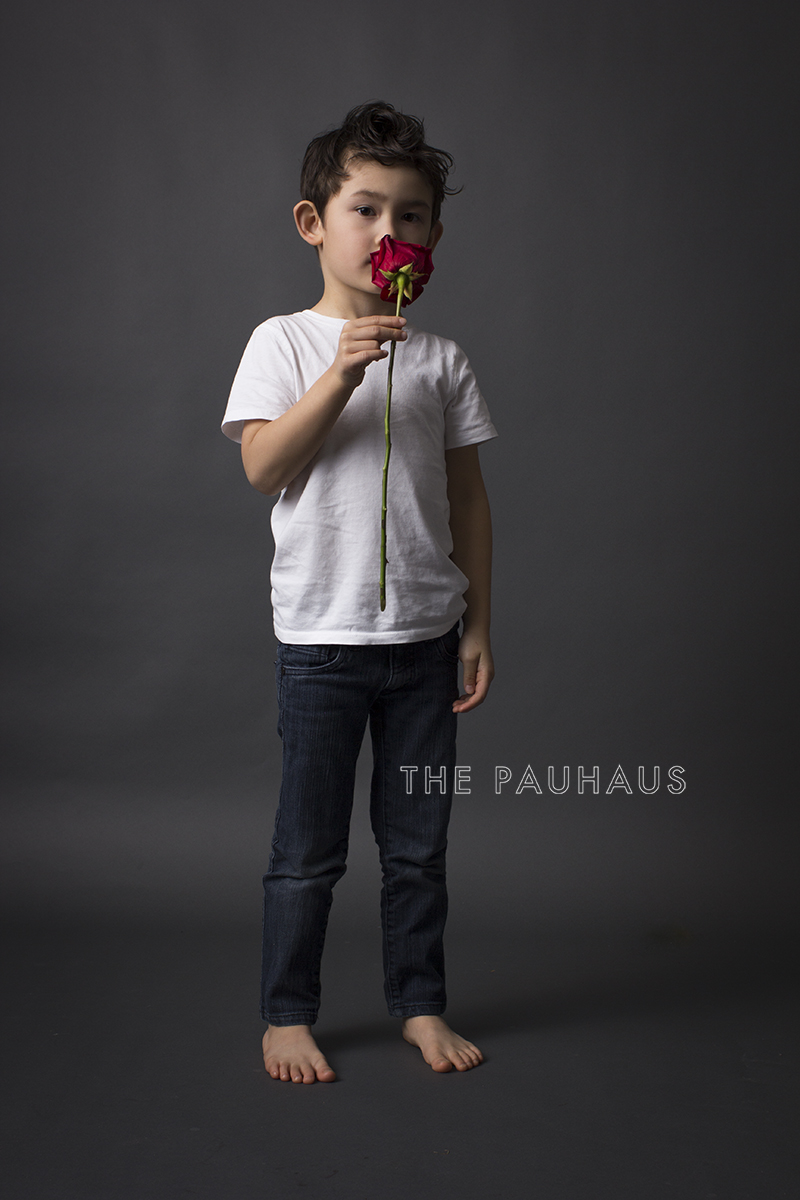
You can't go wrong with jeans and a white tee. It's inarguably classic, fashionably timeless and like a blank canvas, it leaves room for endless possibilities. Dress it up or dress it down, it's hard to go wrong when you're keeping it simple. Jealous of Chloe's rose photos, he asked to have photos with the rose as well. Sweet as pie.
The Goofball
When I say this guy is "ready for photos" I truly mean it. With Chloe, you never know what you are going to get, you never know what mood she'll be in and she often refuses to take direction so photographing her is often a painful and frustrating process. Moses on the other hand, is so natural. Always eager to please, he takes direction extraordinarily well, does not get disheartened when corrected as realizes their is a reason to the madness, he is capable of making small movements that change an entire image, and he offers an array of facial expressions. He is so pleasant and so easy, he's a photographer's dream model.
The Rockabilly

The Greaser

The James Dean
The James Franco
The Hopeless Romantic
The Party Animal

The Hipster

The Johnny Depp

The Edward
In conclusion, I am pretty damn stoked about what I got out of this last minute session, this last minute attempt to capture something fun and new for his Valentine's Day photos. This last weekend was more emotionally taxing than usual for our family, and having both kids with a fever did not help. Thankfully they were mild fevers and they were both up and running in no time. Family Life continues to be crazy, but I wouldn't have it any other way.
Have a lovely Valentine's Day Weekend
XO

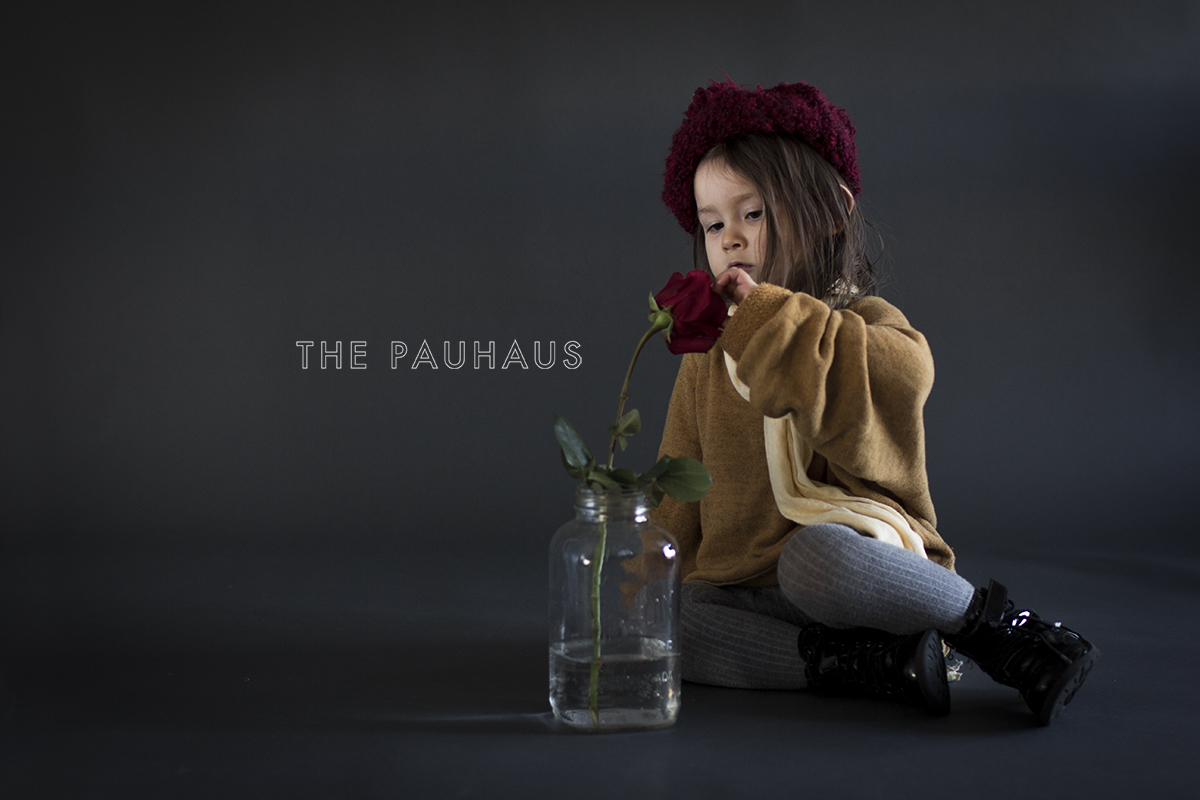
Happy Throwback Thursday my friends! I've decided to post my Valentine's Session with Chloe today and my session with Moses for tomorrow. Kim Anderson's images are just too iconic and nostalgic to not honour him for a Throwback. I don't recall the exact moment that his images entered my thoughts (or why), but the moment the image of The Girl with the Rose came to mind, I immediately knew I needed to recreate this image with Chloe. I opened Google to track down the image and after almost 20 years, there it was, the ultimate Throwback to my childhood.
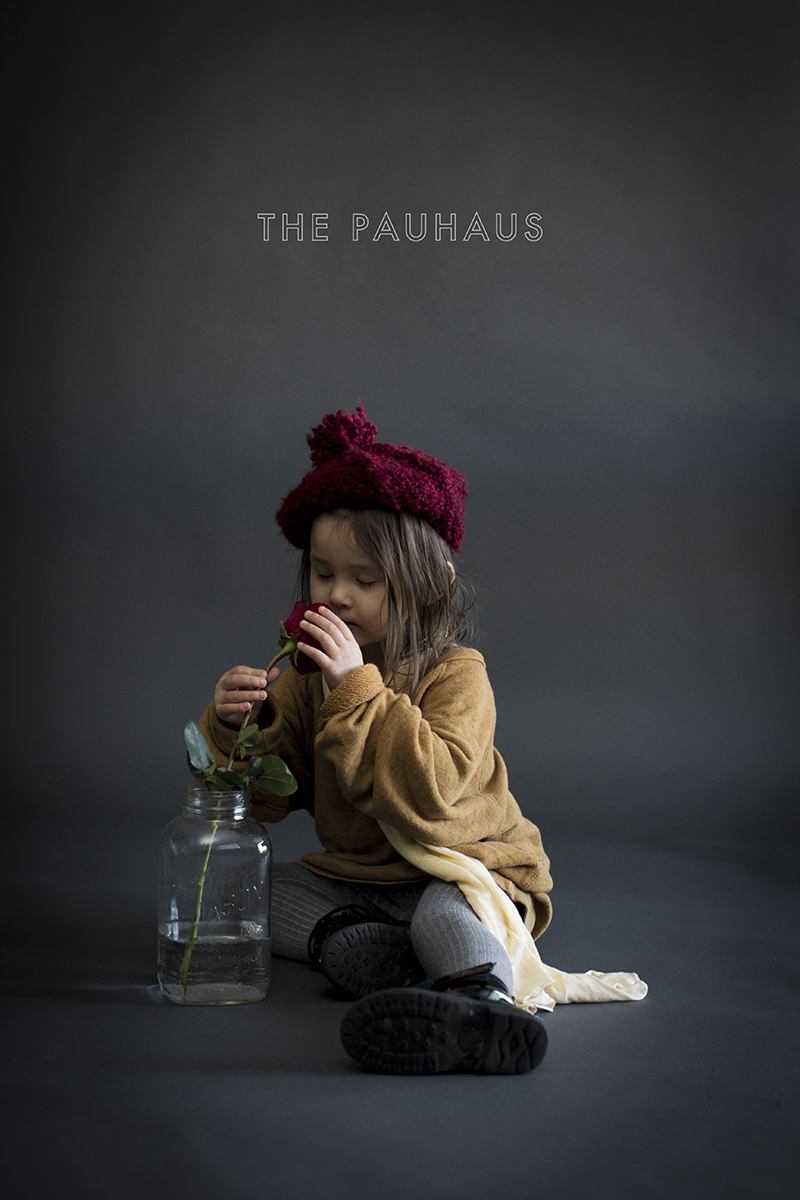
Amazingly, I managed to put together a strikingly similar ensemble from the original from our own closets.
Sweater - Wilfred Free. Scarf - Nicole Bridger. Beret - Handknit from a high school friend. Grey tights - Mayoral. Patent Leather Boots - Benetton.

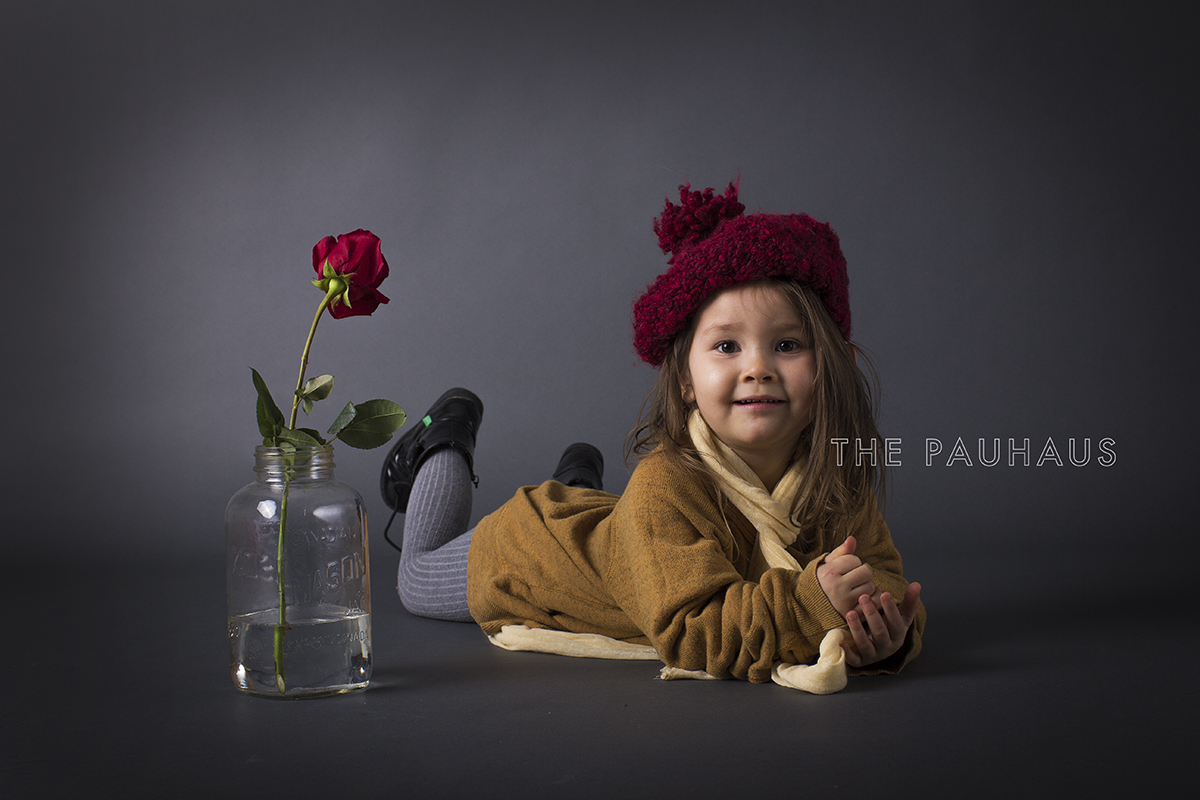


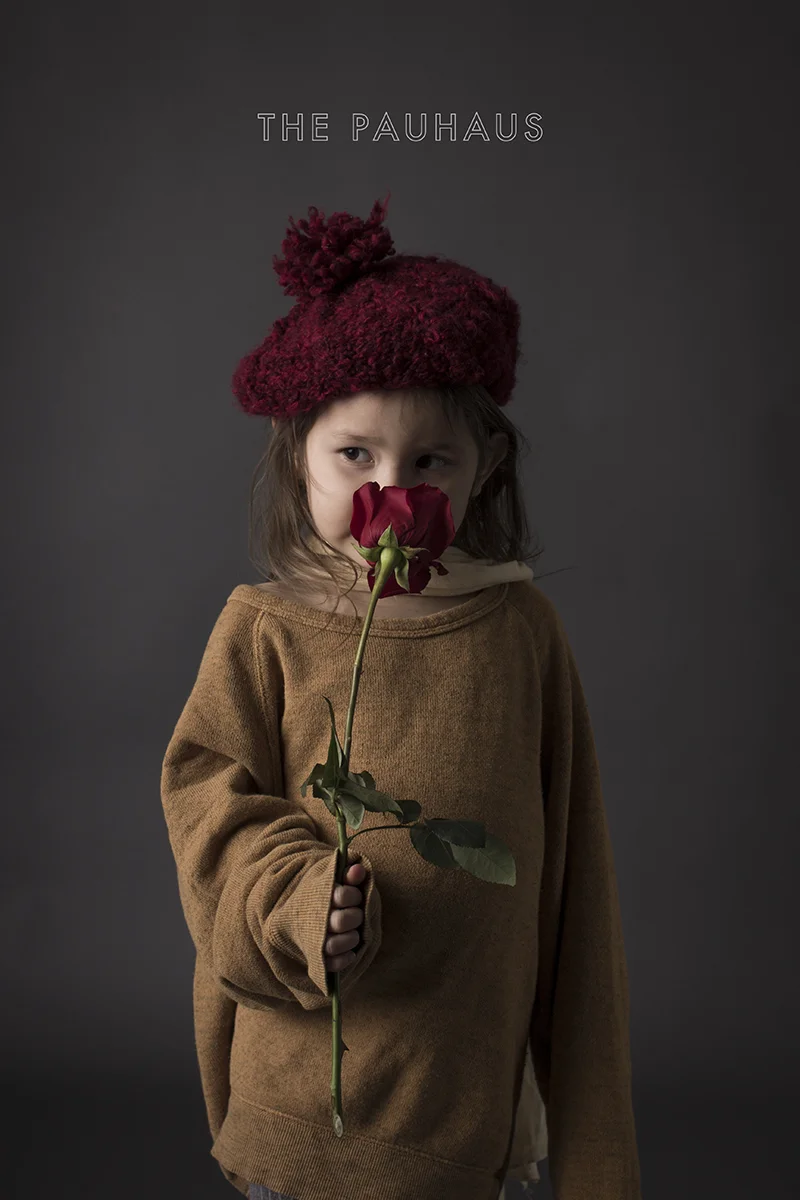
This is my absolute favourite of the bunch
I totally remember hanging out at Carlton's Cards and Hallmarks, secretly trying to spend my pocket money on the mini cards to give to my current crush at school but never being able to decide which one to get. And 20 odd years later, it is my inspiration for photographing my daughter for Valentine's Day. I just loved this idea. I loved knowing that it was not just a part of my personal childhood, but that so many others who fell in love with these images as kids would be able to connect with my updated version. It was exciting to be able to draw inspiration from this very nostalgic part of my childhood, and at the same time I was very nervous over the execution: How I would be able to translate it and reconfigure it to be my own?
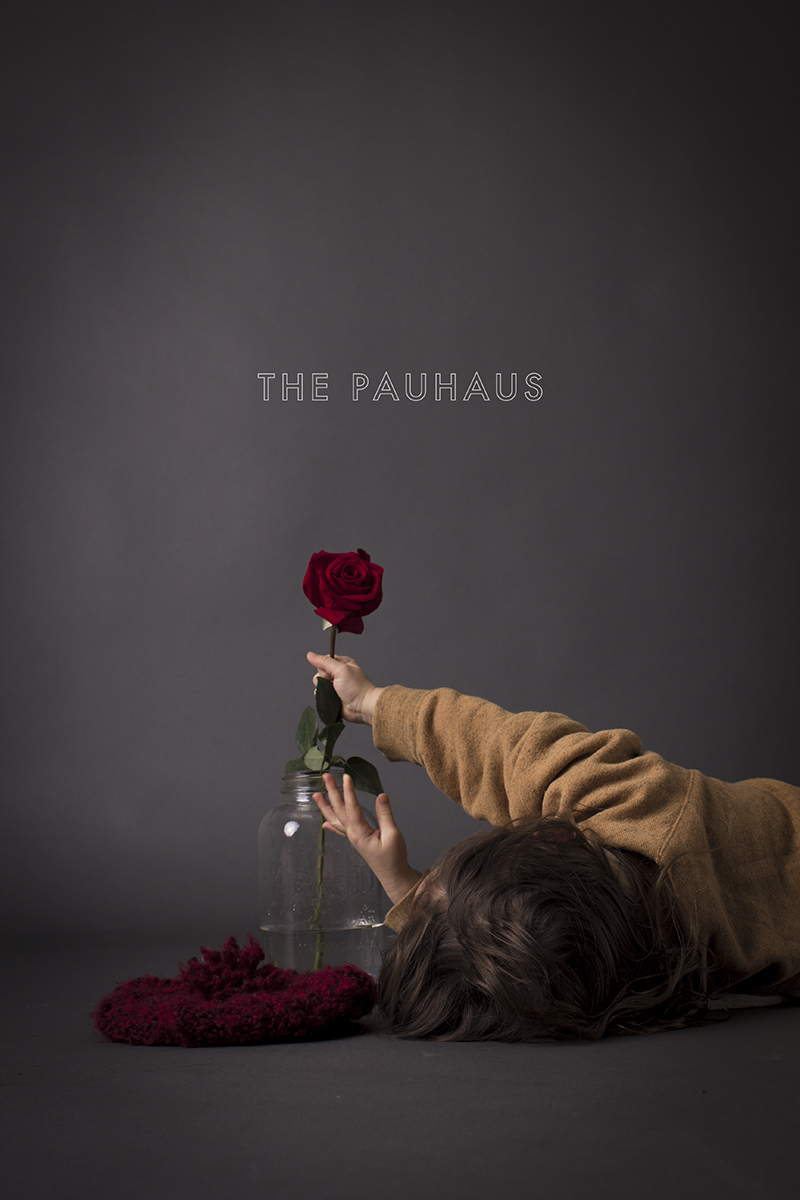
I'm over the moon with these images. I love how they turned out and I love this feeling of having achieved my project goal. It reminds me of my art school days, being able to successfully bring multiple elements together to create a cohesive piece. The images pay homage to the original artist and yet they have been altered in enough ways (lighting, mood, colour, richness, backdrop vs natural environment, etc…) that allow them to stand on their own for those that may not know the origins of their inspiration.
My prints are arriving this afternoon, I can't wait to get my favourite shot up on the wall!
xo